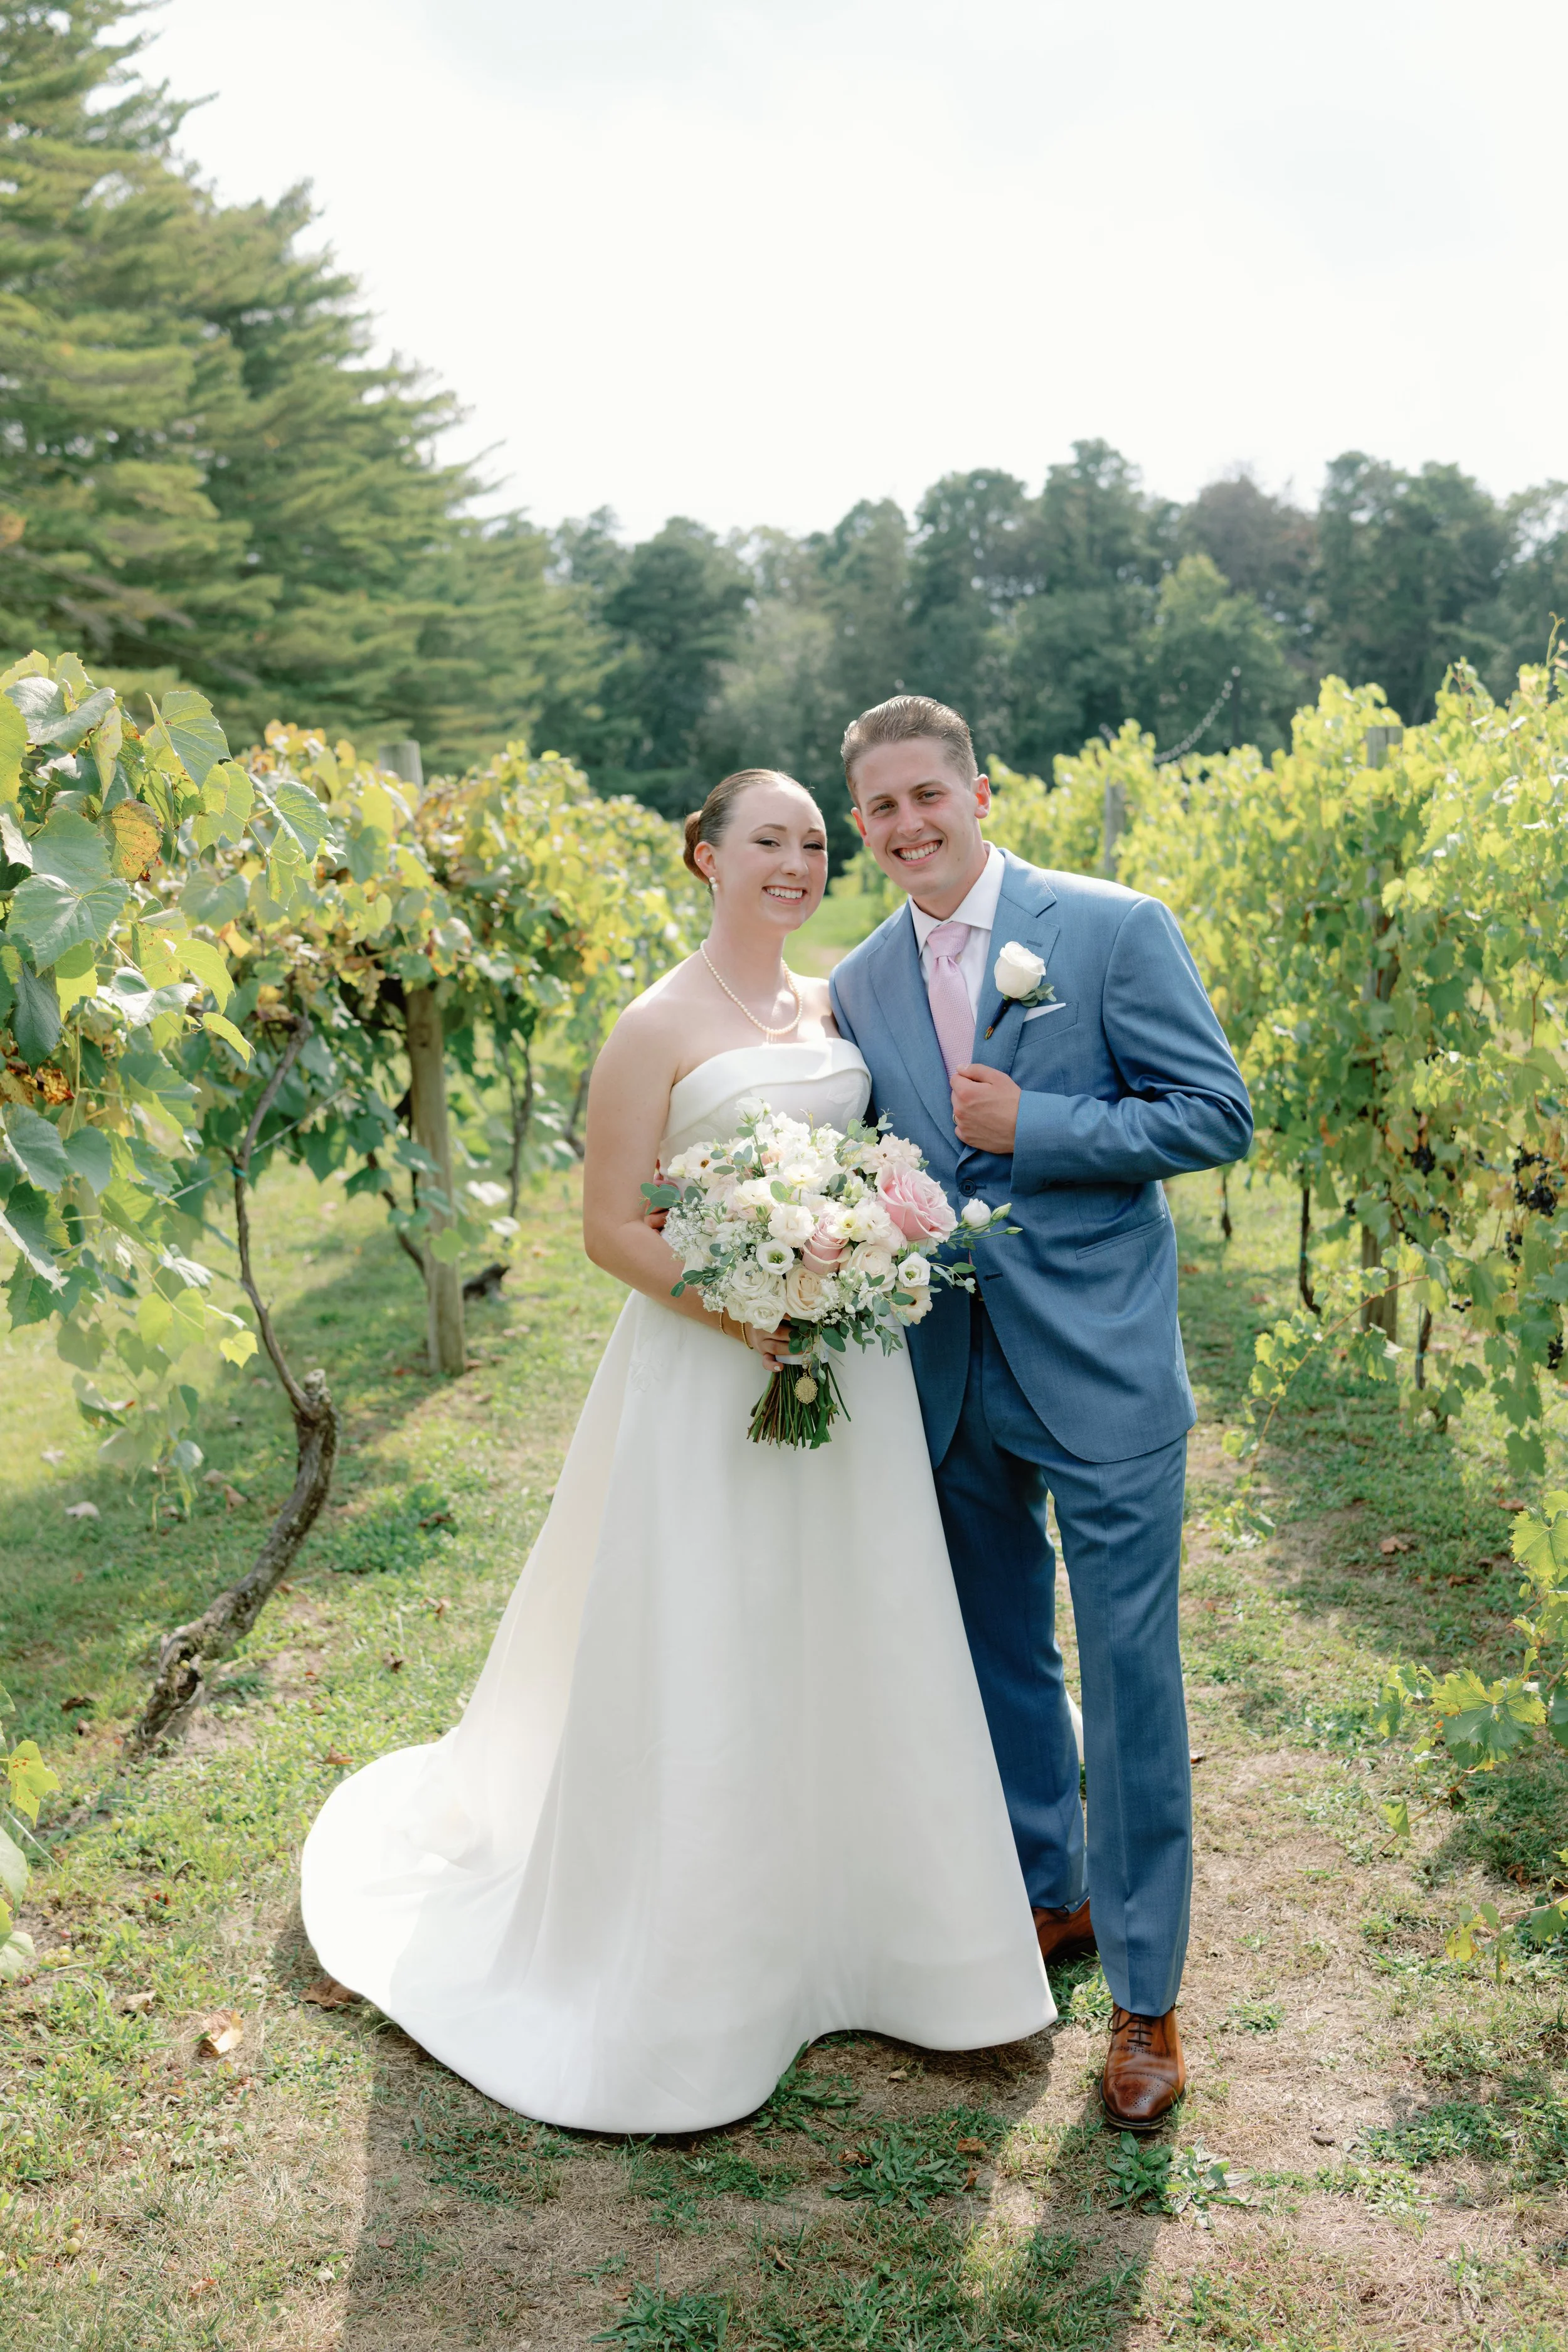
I really enjoy creating pressed flower frames, especially when I am making art from a beautiful bouquet.
Start with Fresh flowers
Nothing beats a stunning bridal bouquet as a starting point, but it’s critically important to keep the bouquet as fresh as possible after the wedding. Plan to keep the bouquet in water and refrigerated, or at least in a cool, dark spot, until you are ready to press. I gathered this bouquet 2 days after the wedding and began pressing immediately.
The Flower Press
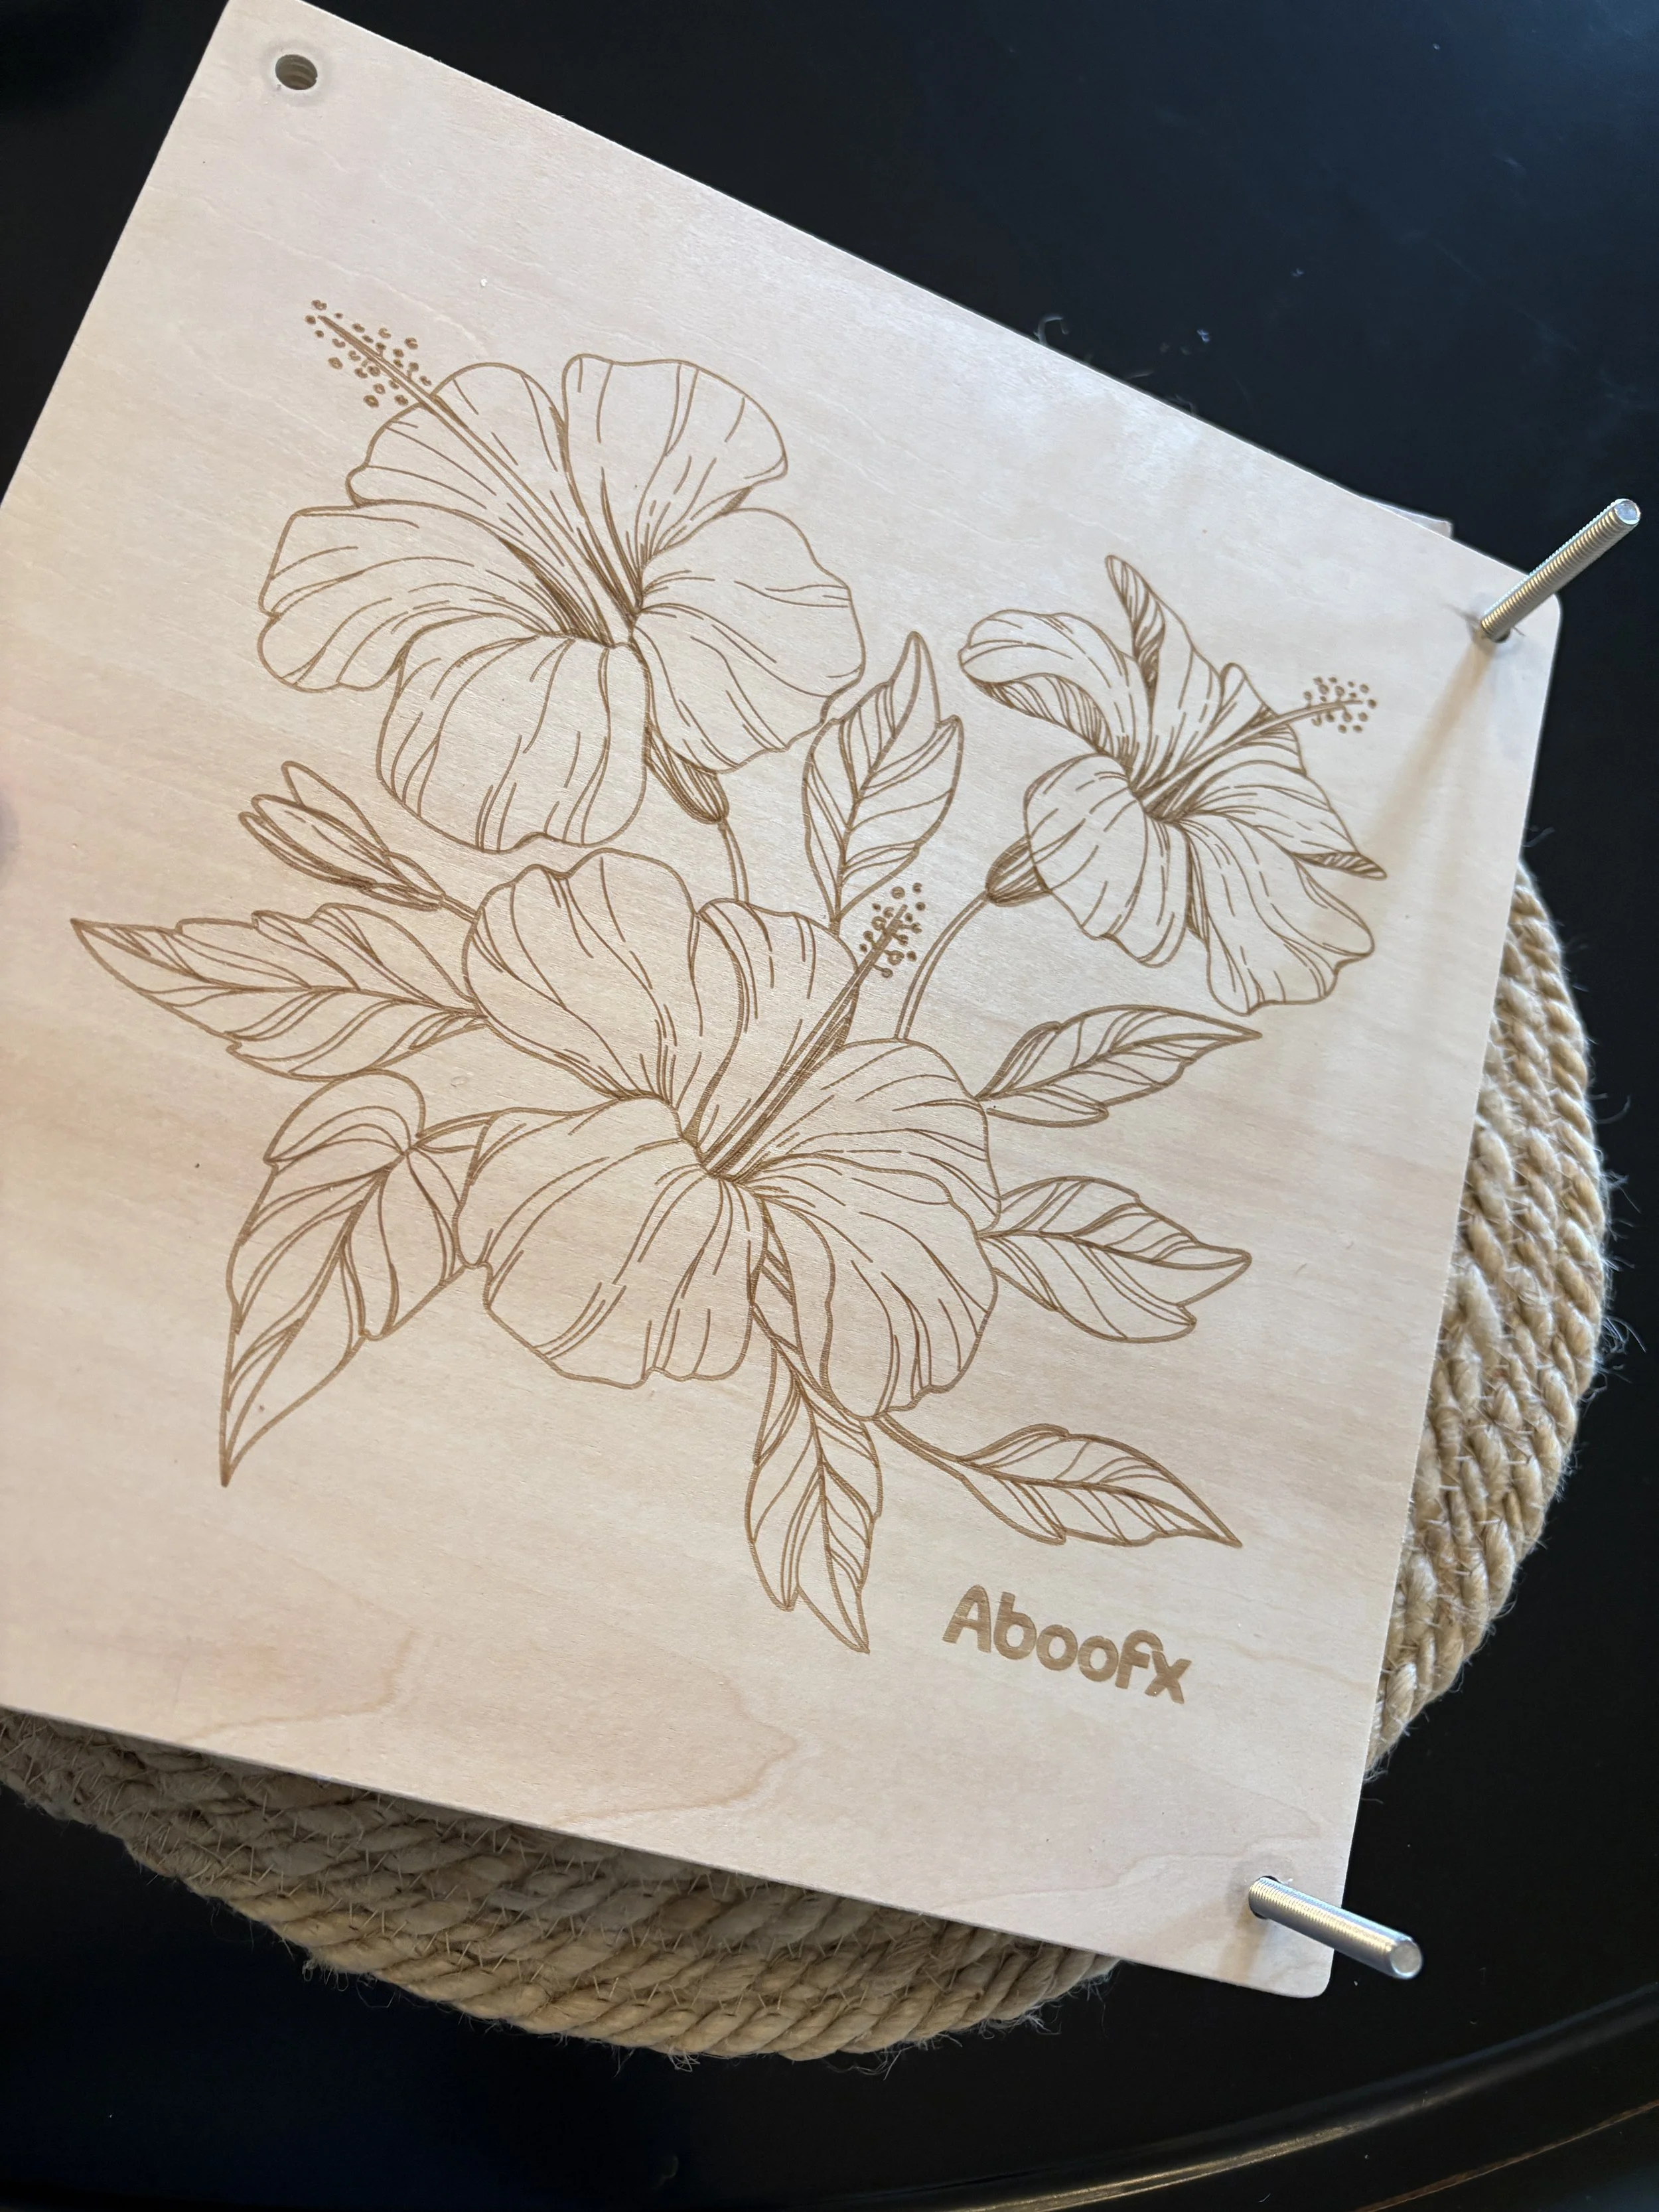
I use this attractive wooden flower press from Aboofx. This wooden flower press not only looks appealing on a desk or counter, but it also comes with plenty of blotter paper, screws, and washers that allow me to easily apply ample pressing pressure. For a less expensive option, just buy loose sheets of Blotter Paper and press your flowers under several heavy books.
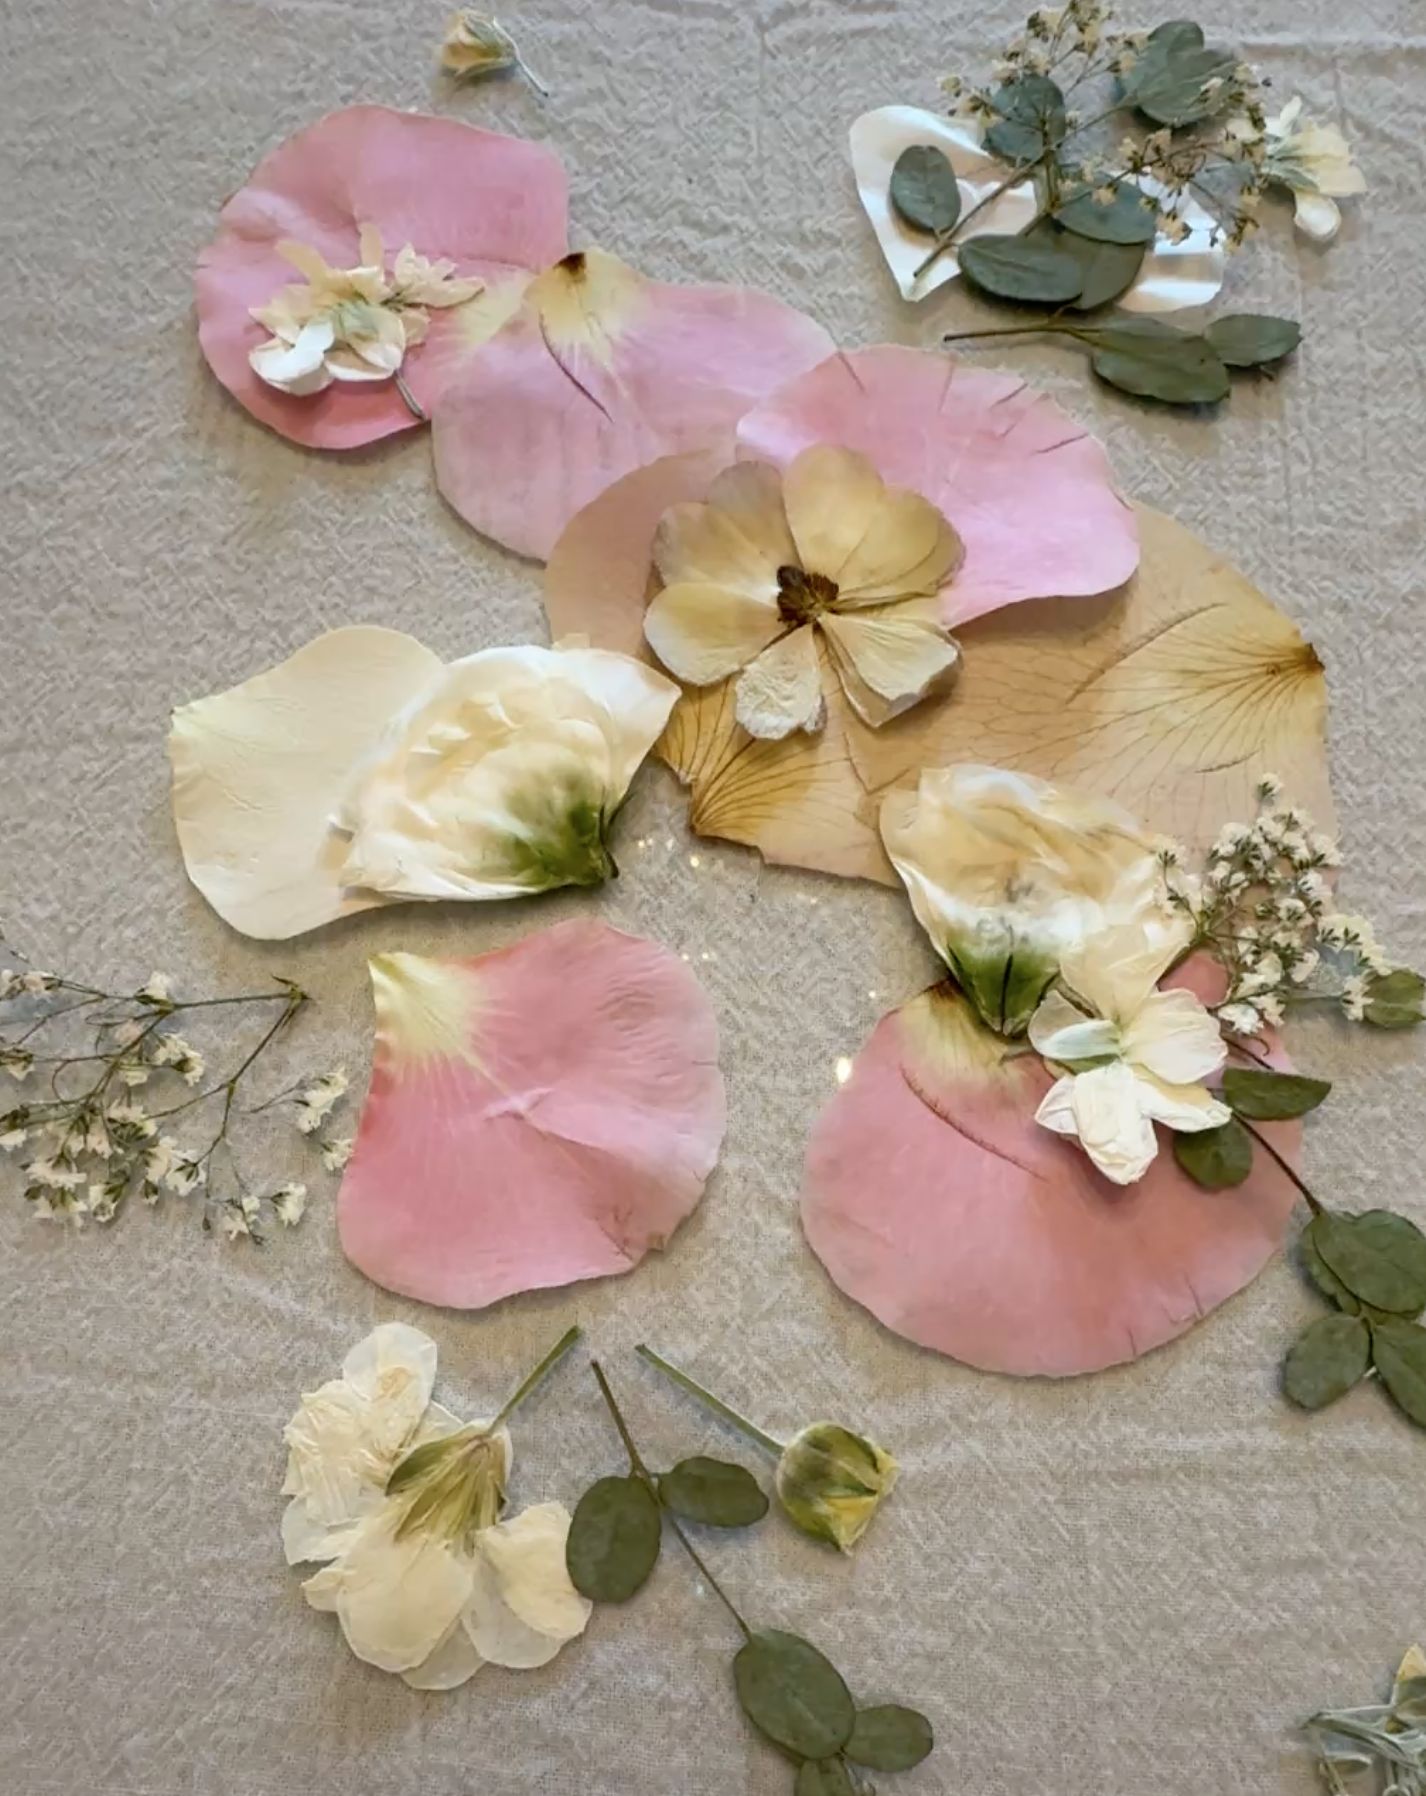
Press single Petals, Greens, and whole Flowers
Remember, it takes 4-6 weeks to press fresh flowers properly, but during that time, you can collect all the supplies you’ll need for your farmed art and rehearse the design you’d like to create.
Follow these steps when preparing the press:
Eliminate all moisture from petals and flowers (air drying is best while the flowers are still on the stem, but in water)
Cut off all thick stems as close to the flower as possible
Pull apart the petals from thick, round flowers like roses and press the petals individually
Take tiny cuttings from the greens and filler flowers like statice and baby’s breath
Separate leaves for pressing if you choose to include them in the final design
Use your best judgment when pressing small buds. If they seem too thick and full of moisture, do not try to press them
Layering the Blotter Sheets:
Lay each flower, green leaf or petal, individually, and try not to touch other pieces
When the blotter sheet is full, place another sheet on top and continue (be careful not to shift the sheets underneath)
When all of the flowers, greens, and petals are positioned, cover the stack with one final piece of blotter paper before placing the press’s wood cover or your pile of heavy books on top
Secure screws and washers, twist until tight, and the sheets cannot shift (only if using the flower press)
*Pro tip: If you are pressing WHITE flowers, place the entire press, including the books, into a refrigerator for the duration of the press. This will keep the white flowers white. But if you want an antiqued, tea-stained look, then keep them at room temperature.
Choose A Nice Frame
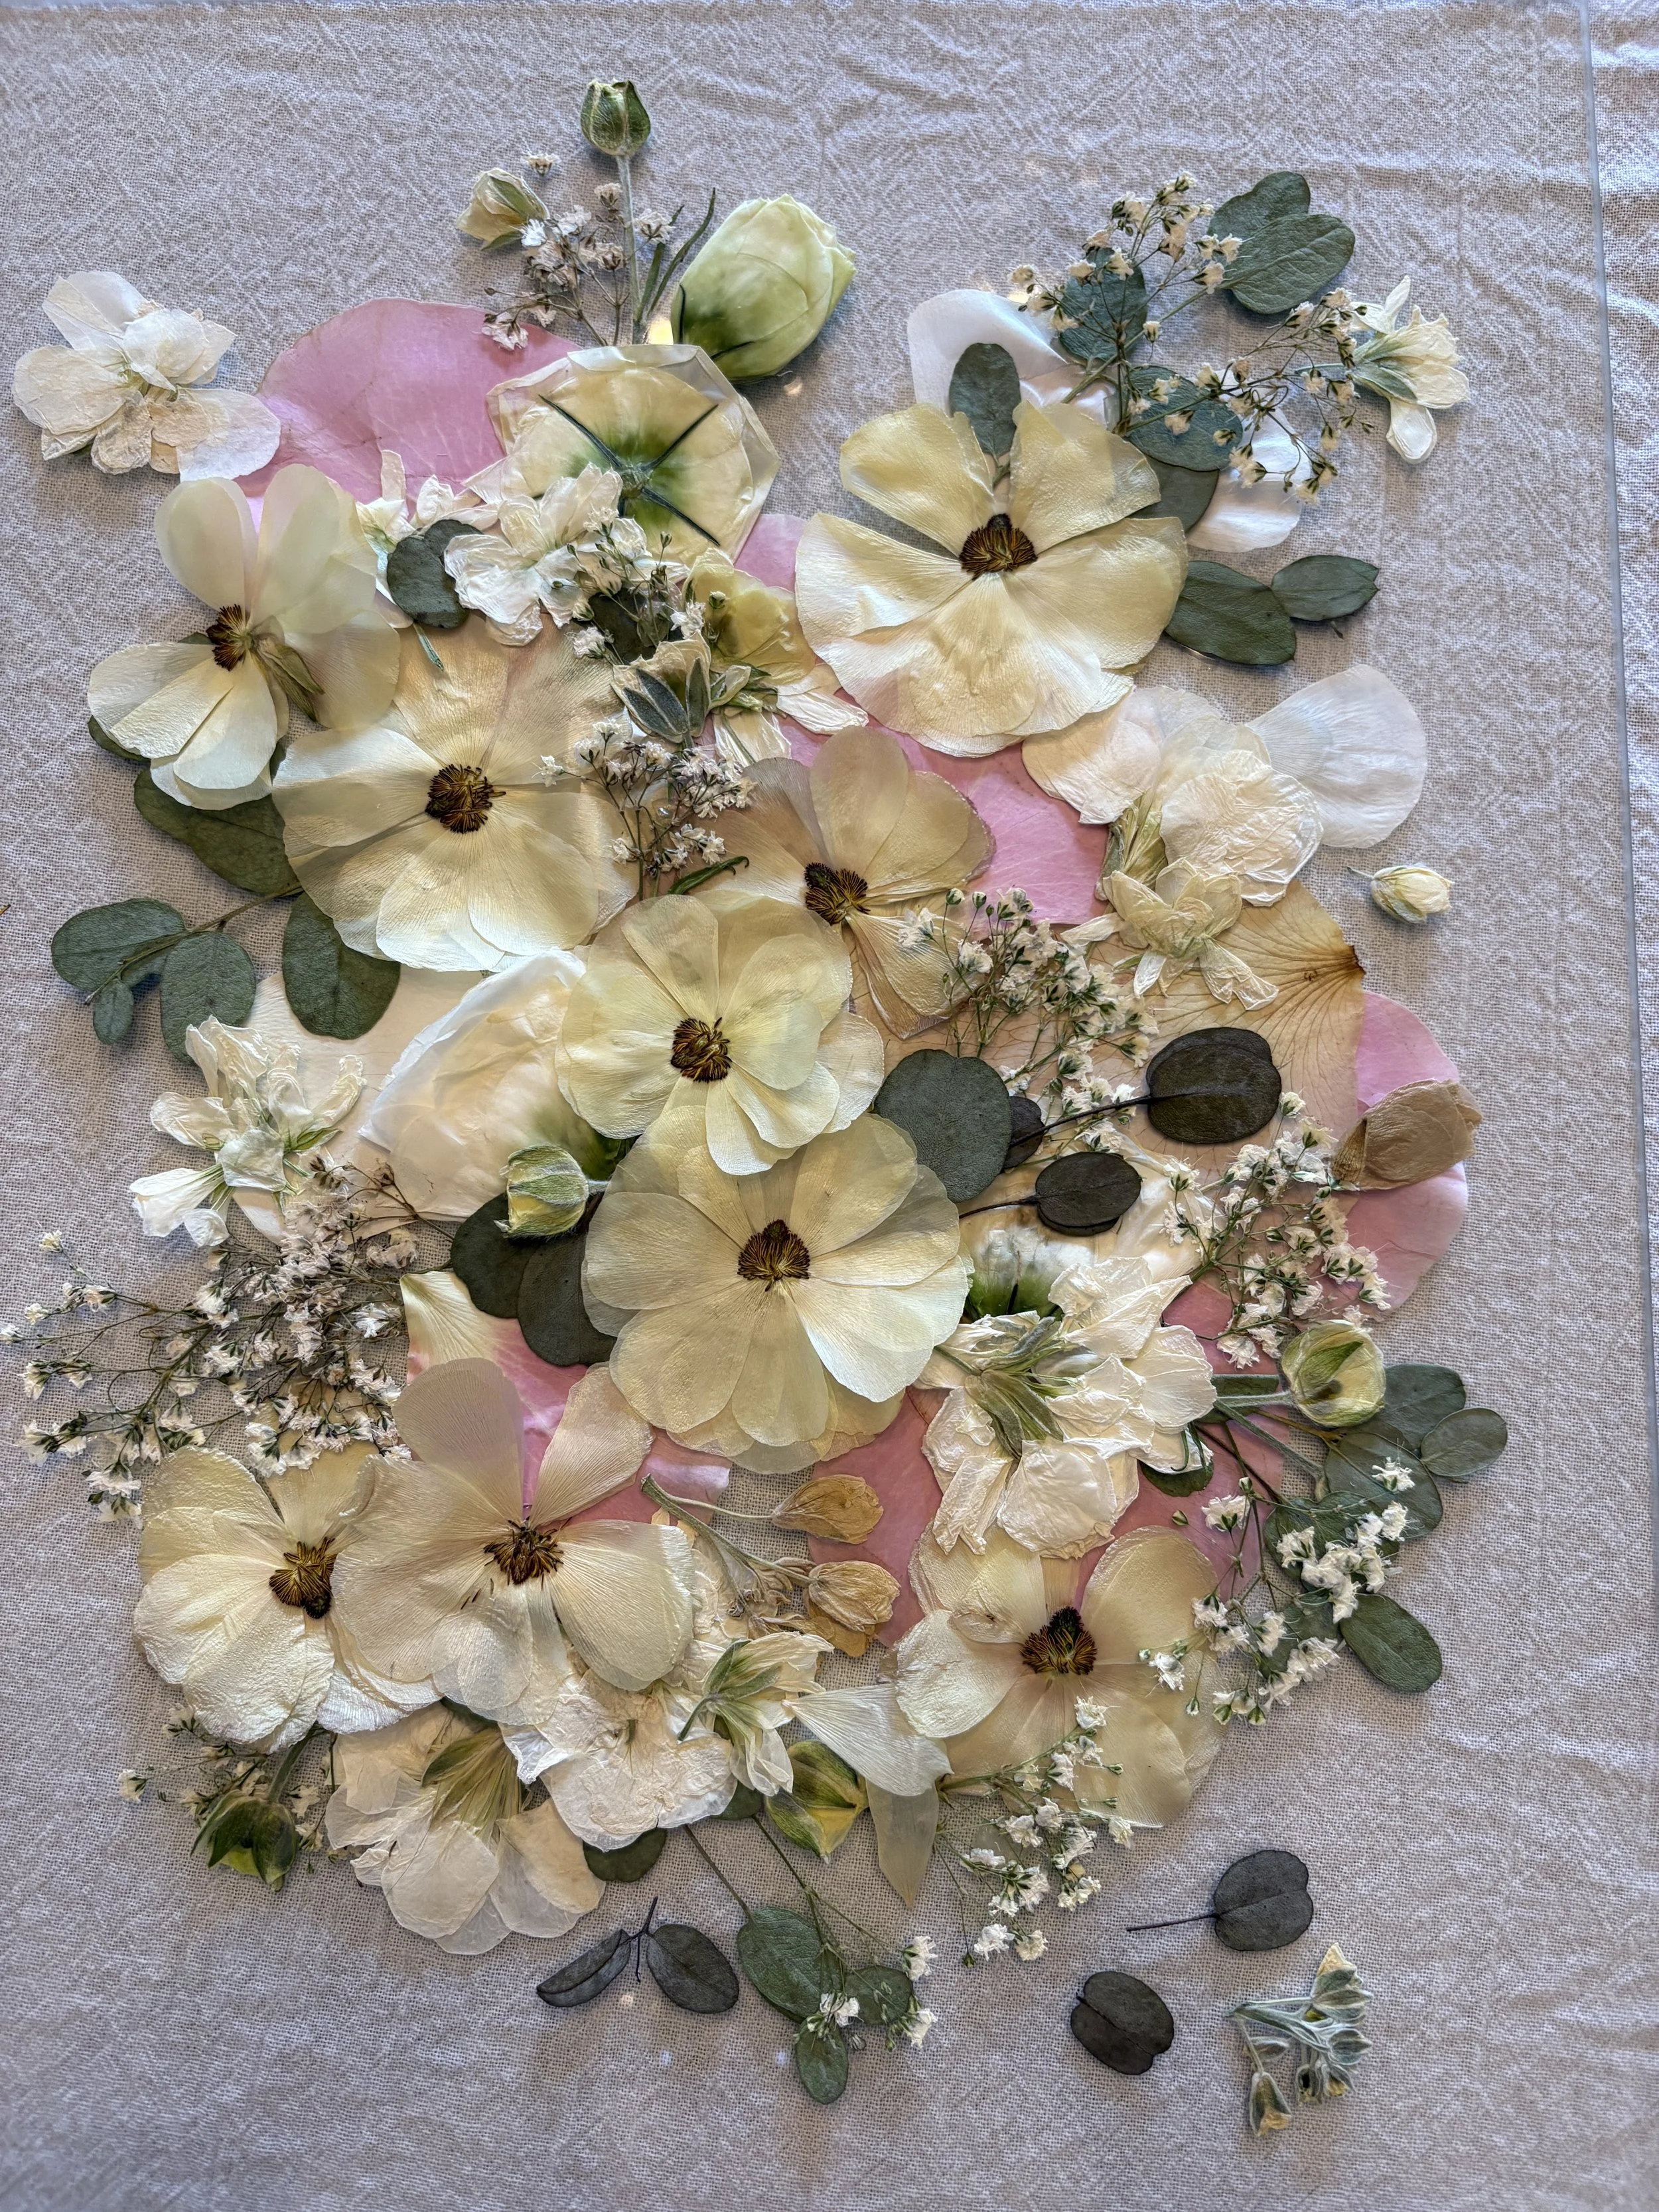
The frame choice is very important because you want the finished piece to hold up and look wonderful. I always choose floating frames with glass, not plastic, because I think they showcase the flowers well. You can decide between white, black, metal, or wood finishes, and of course, there are many sizes. This bouquet was large, and I wanted to represent all of the flowers, so I chose the Americanflat 11x14 Floating Frame in Oak with Polished Glass.
Designing the Flowers and Petals
This is the fun part. Only after 4-6 weeks have passed and your flowers have had enough time to dry and press, should you begin designing. Test each layer of your press to make sure everything is ready. I like to lay each sheet on my table so that I can clearly see everything before I begin arranging.
Lay out your design
To begin, place one piece of the frame’s glass onto a soft work surface. I used a plain, white dish towel so nothing could scratch the glass.
Start by laying out your preliminary design to get an overall sense of where you want to place each flower. I like to use a tweezer to carefully lift each petal or leaf, remembering that everything is very delicate at this stage and the petals tear easily. Sometimes I create using a lot of white space, allowing the flowers to breathe, while other times I like to bunch items together. Design is really personal preference.
Once you have your vision in place, carefully place small glue dots behind each flower or leaf and lightly press them into place. Some layering is aesthetic, but be sure not to create too many layers; otherwise, your double-layered glass will not slide into the frame.
Assemble the Frame
When you are happy with your design, pick up the glass and make sure none of the pieces fall. If they do, just secure them with some more glue dots until everything stays in place. At this final stage, go over the entire design and make sure you do not see any glue from the front. If you do, place a small flower to cover it or remove the glue dot with your tweezers. Once everything is secure, slowly place the second piece of glass on top and assemble the frame.
I hope you enjoyed this blog
Have fun creating your pressed flower frames. Here is a short list of supplies you might like, including several unique press options for your convenience.


