

How to Create a Stunning Centerpiece
How to create a stunning winter centerpiece

Start with a great base
A few months ago I found this fantastic cement pedestal planter on Facebook’s Marketplace. It’s very heavy but I managed to get it into my car with a little help from the seller. I was lucky with this one because the beautiful white paint patina was only flaking off a little bit -just enough to show the age, but not enough to ruin my kitchen, where I decided to showcase this rare beauty. Look around garden centers for one of your own and if you’d like to recreate a smaller version of this, I found this replica.

Find A wreath to cover the top
I found this medium silvery wreath floating around, so I decided it would make a great base for my arrangement. It hides the chicken wire mechanics I placed inside the planter for stem stability and it covers the opening enough without hanging too far over the gorgeous, detailed edges. In hindsight, a looser green wreath would work just as well, and if you only have one that hangs over the edges a bit, that would be okay too because it would look soft and flowing. That being said, I recommend looking around your house for something that fits your decorative base well and if you can’t find something then quickly create a small wreath with wire and fresh greens, branches or even faux foliage. Here is a good starting point if you can’t find or make something. Consider pulling apart an old, worn-out wreath and filling it with something new and fresh, but be sure it will compliment your focal flower color palette nicely.

Focal Flowers
When choosing my palette for this winter arrangement, I went with creamy whites and browns so that my design could last all winter and not need to be changed out soon after the Holidays. I decided to use these faux Magnolia branches and a few off-white wooden stems I had lying around. The Magnolia stems are a mix. I found some at a home decor boutique and I found some at Michaels, The wooden flowers came from Trader Joe’s and I’ve had them for years.

The Execution
To fill in the planter, I began by placing each large Magnolia branch so that it loosely spilled out over the scalloped edges of the planter. I had to bend each long, wired stem so they’d be short enough for the planter. I didn’t want to cut them because I may use them differently next year. Once bent, I liked the way they just randomly popped out here and there on all sides.

Secondary Flowers
Next, I began anchoring the wooden flowers so they’d create height in the center. of the arrangement These stems are held up with the chicken wire inside under the wreath. This is important because, without the inside structure, I would not be able to get this grand height. You could also use floral foam, but I try to stay away from foam whenever possible.

Filler Flowers
Once all the creamy Magnolias and wooden flowers were placed where I wanted them, I grabbed a big bundle of muted dried Hydrangea that I picked from my own gardens, and began filling in the spaces. Dried Hydrangea are a bit messy, but they are so nice and fluffy and they do a great job covering up all the stems and rounding out the arrangement. And I don’t mind mixing faux, silks, and dried, as long as my color palette is pleasing and the overall aesthetic is textural and nice. And if you can’t use dried, here is a link for faux Hydrangea stems.

the End Result
So here is the result. A wintery mix of Magnolia & Hydrangea placed smack dab in the middle of my small, antique, kitchen island. It takes up most of the surface, but I love that. And my favorite part is that I do not have to disassemble after Christmas. This color scheme will take me through the winter very nicely. I hung a few dried oranges from the arrangement on Christmas Eve and I may hang a few small hearts for Valentine’s Day. Please tell me what you think. XO - Kim
Supplies for the Magnolia Cement Planter Design
Replica Pedestal Planter (small)
Wooden Flowers (I found mine at Trader Joes)


How to Create a Pretty Mini Bar with Items You Already Own
Creating a pretty mini bar with items you already own.

Do you find it difficult to turn away pretty decanters, cast-off crystal, or pewter candlesticks? Whether you relish rummaging thrift shops every once in a while, or you inherited your grandmother’s formal dining room and you don’t have the heart to give it all away, rest assured, you can create something fashionable and functional that will be a big hit the next time you entertain.
A few years back I hosted Christmas Eve for my extended family which, at the time, consisted of 9 very light drinkers and 10 teens and pre-teens. I needed to create a semi-dry mini bar but I wanted it to be spectacular and not just a kitchen counter filled with soda, iced tea, and fruit-infused sparkling water.
First, find a Bar
Everyone today seems to be buying stylish, rolling mini-bars. While I like the look of them, I could never seem to find space to store one in our farmhouse. And their mid-century modern style never really fit with my antiques anyway. That being said, I don’t own one, nor do I have a traditional, custom bar anywhere in this home, so when I wanted to create a holiday mini-bar, I needed to find my own way.

Tucked in a corner of my dining room is this antique dresser or bureau that I acquired from my paternal grandmother’s home. For many years I used it in an obvious space, a bedroom, but eventually, I grew tired of using it in a traditional way. So I had my son and husband move it down to the dining room where it happily lives today. I actually really like it here because its many drawers are very useful. I now have a practical space to store my vintage tablecloth collection and the many cloth napkins I keep pressed and ready for pop-up entertaining. I decided to use this as my bar. But you can virtually use anything, an existing sideboard, a built-in bookshelf (which I’ve also used), anything. I even converted an outdated corner TV hutch into a mini-bar after I saw the same thing in Pottery Barn for over 3K- but that is in another room so I’ll save that for another blog.
Look around and use your imagination instead of your wallet. You’ll find something cool at home and when you do be sure to photograph it and post it in the comment section for our idea bank.

The Embellishments
Next, I’d like to encourage you to always use what you already have around your home to create this very pretty mini bar worthy of conversation. There is no need to buy anything except maybe an inexpensive knock-out crystal piece - but if you do, be sure to get that from a thrift shop. Upcycling is better for the environment and giving a piece a “second chance” just makes the heart warmer.
So take a walk around your home. Go to your attic, basement, or anywhere you stashed all the items from your long-lost relatives that you didn’t quite know what to do with, and just couldn’t throw away. Open every hutch and sideboard, every cupboard and buffet, and see what pieces you’ve forgotten about. A few glass or pewter candlesticks? Grab them. Some mismatched crystal wine glasses? Snag them. In fact the more eclectic the pieces, the better. There is no need for a full set of anything here. You are creating the bar of misfit toys.

Fancy Decanters
If you haven’t already inherited a few of these little gems, then I suggest taking a trip to your local thrift/consignment shop. There you will find a treasure trove. Visit their glass or china section and basque in the glow of unwanted decanters.
Decanters were very popular mid-century but aren’t used very much these days. Unless you come to my home on Christmas Eve. I think it’s a shame because they are elegant and in my opinion, they display liquid beverages best.
Far back in antiquity, decanters were used to transport beverages like wine and spirits that could have lingering sediments. Decanting liquids gives the liquids room to breathe which enhances aroma and flavor. Wine and some spirits continue to be decanted to this day.
Remember, when you find your perfect-for-you decanters, be sure to give them a good cleaning. Here is a great resource for that. The decanters I am sharing are just a few that I inherited. I have some that came to me without stoppers, and I don’t let that stop me from using them. I love them just the same. But I do really embrace the ones with fancy stops.

pretty Pitchers
And as you’re probably suspecting, I also have a small collection of vintage glass pitchers. I think I only purchased one on the Facebook marketplace. All the others were entrusted to me by relatives who knew I would actually use them.
It’s true, I use them all the time because I just think they are so beautiful. For me, the glass works well because as you’ll see later I embellish my mini-bar with loads of candles, and I love the reflections in the mirror, but for you maybe pottery pitchers are more your style. That’s great. Use whatever you have that speaks to you.


Is it an Ice Bucket?
Who knows. I inherited this glass bucket from my parents who probably used it for their Swanky Sixties Soirees. I’m not sure it was an ice bucket, but I love it and use it as such. I can easily see when the ice melts and it has a handy silver handle for quick refills. Everyone has something like this around their kitchen. Any pretty glass bowl will do. And DO NOT BE AFRAID to pull out your vintage punch bowl either. I use mine all the time to actually serve punch. It’s only outdated if you care that it is. It happens to be a very pretty and effective way to serve teenagers something fancy.
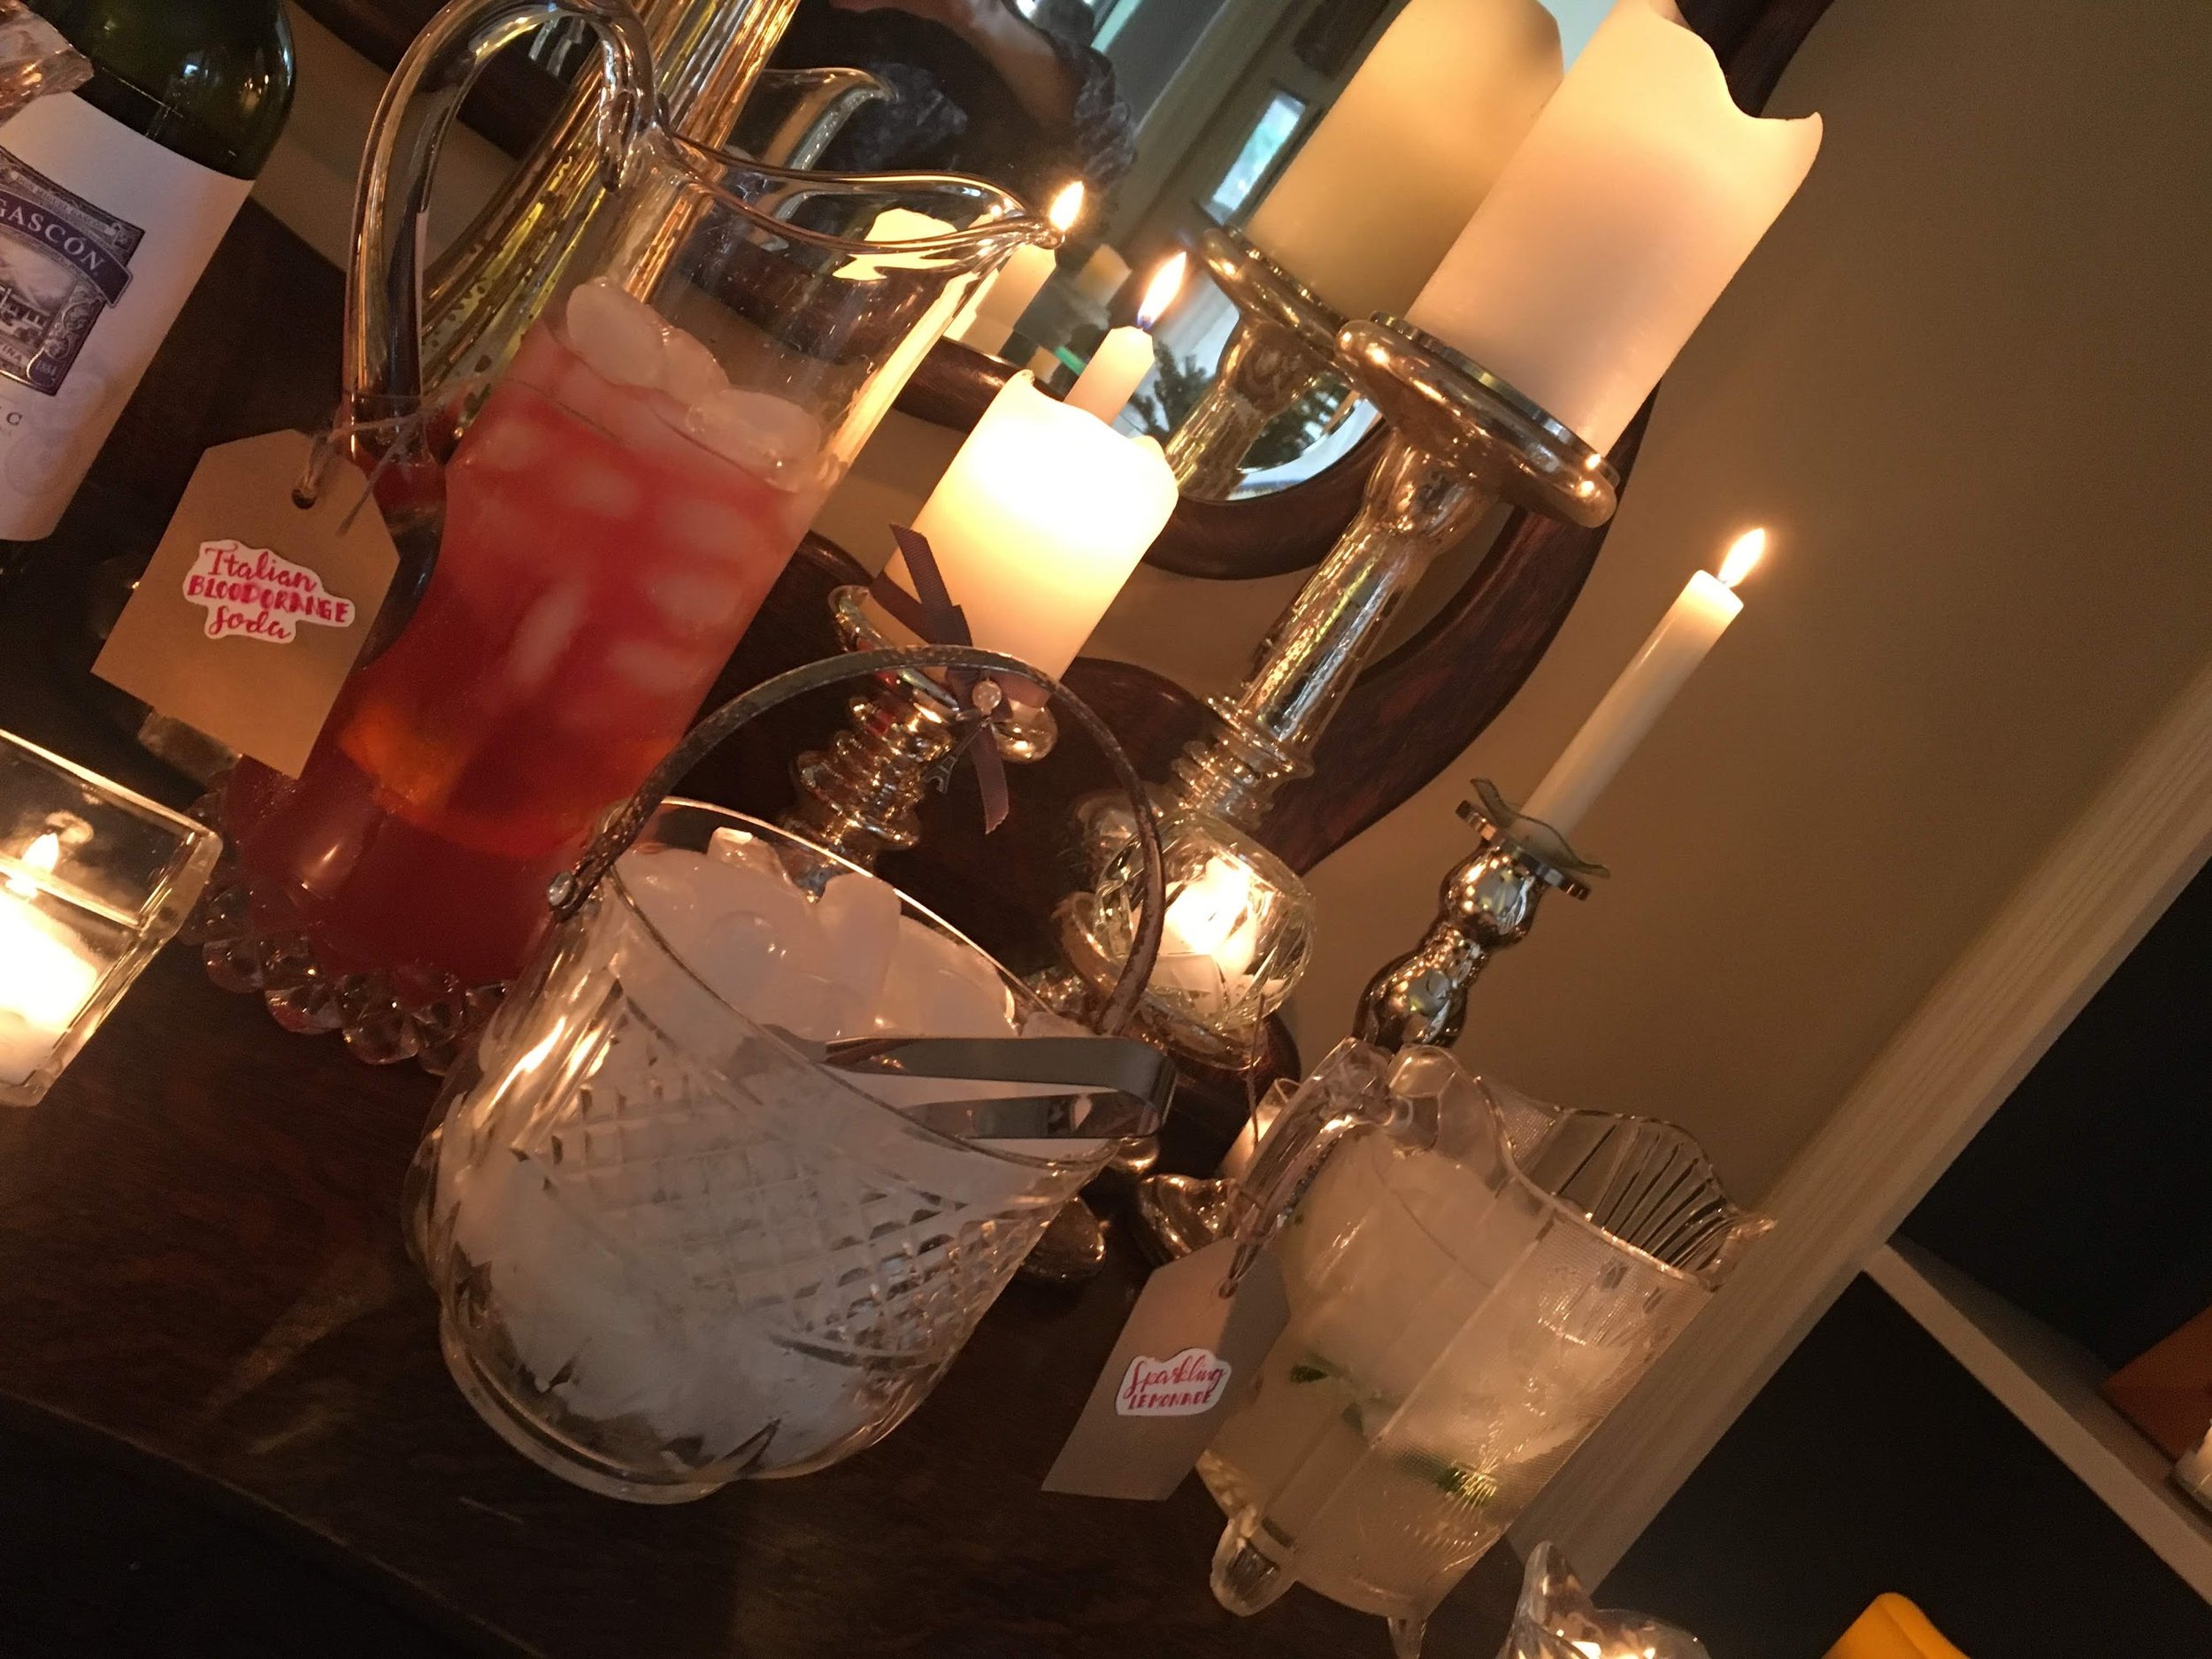
toggling Tags
It’s important your guests know what they are drinking so I like to use labels.
For this occasion, I served two fancy lemonade pitchers whose content originally came in bottles from Trader Joe’s. Nothing too complicated here. I just added a little ice, a lime, and then poured in the bottles. Voila…pretty pitchers full of cheer for the kids to enjoy.
To label the pitchers and decanters, I like to sometimes make interesting theme-appropriate tags to match the occasion or you can also just keep all-occasion brown kraft tags and twine in your mini-bar drawer, as I do, so they're ready to swing whenever you are.

Add some sparkle
And to top it all off I try to keep tall and short mercury, pewter & glass candle holders around so that I can just bling up the mini-bar on demand. You can find silver or gold or even pink mercury votives here. I think having a few of each allows you to easily change your mini-bar for interest if entertaining the same friends over and over. I always have a stash of votive candles and dripless tapers in one of these drawers and I hunt for sales on pillar candles wherever I go. But the cool thing about making your own mini-bar is that you can change it up with every whim, season, or holiday. For instance, you can use black votive candles at Halloween to accent your ghoulish punch bowl or red candles on the fourth of July next to small galvanized buckets full of blue jello shots.

Thank you for reading this blog. I hope it inspired you to carve out a little unsuspecting portion of your home to create a festive corner for refreshment. I’d love to hear your ideas below.
Learn: Why do they call it mercury glass? The reason it is sometimes called Mercury Glass is that in the early days the internal coating was sometimes mercury or a mercury product. However, mercury proved unsuitable and dangerous, and today silver nitrate is used instead.
Create: Here is a lovely Virgin Blueberry Lime Cocktail recipe created by my friend Rose. Please let both of us know what you think.
Inspire: The holidays are right around the corner. While visiting family or friends, show up with a vintage decanter or fancy glass pitcher Be sure to attach a little tag and “gift them” your beverage of choice. Cheers!
I’m always here to help you with your creative journey. Please sign up to receive blog post notifications and follow Studio Sprig on Instagram, Facebook, and Pinterest. I look forward to connecting. If you’re a blogger, what’s your favorite SEO Tool? I’ve had much keyword success with RankIQ. Learn more here.

Virgin Blueberry Lime Cocktail

Friendsgiving At Our Farm
Why we started this fun Friendsgiving Tradition for our kids and how it’s impacted our lives and the lives of our children.
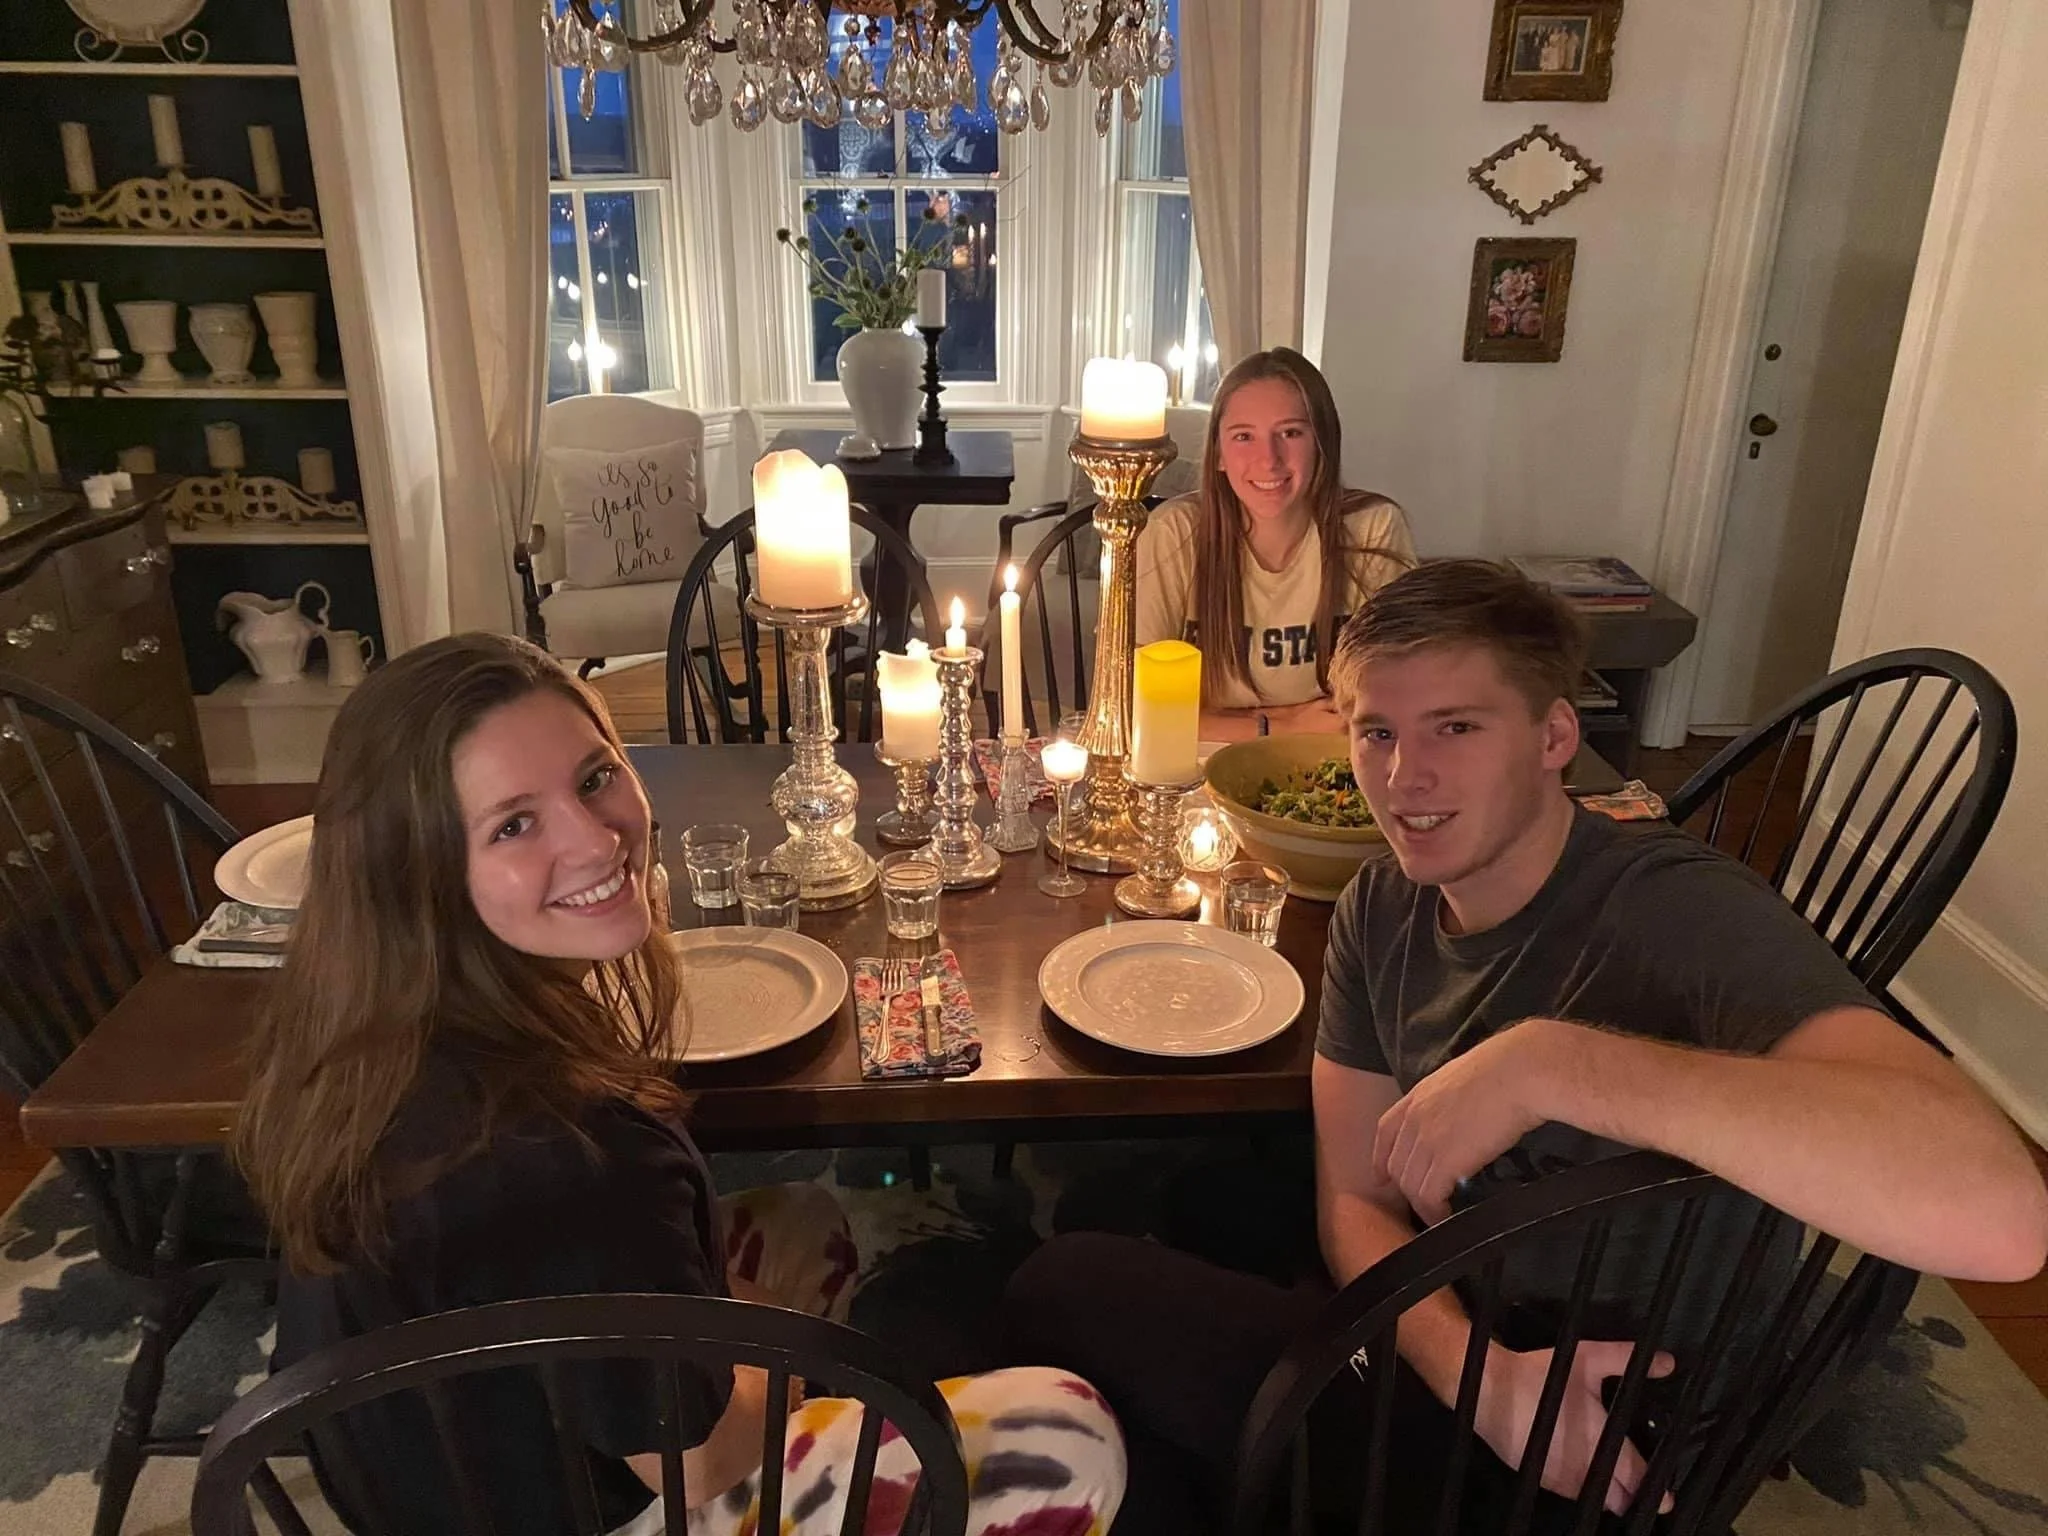
Tessa, Kate and Blake in Windy Hill’s dining room.
Michael and I have three great kids who are very close in age. When Kate was only two Blake was born and when she was only three, Tessa was born. I remember it like it was yesterday, sort of. The mom fog dissipated somewhere around middle school, I think.
The Social Network
As they grew we grew with them and one thing Michael and I agreed upon pretty early was the emphasis we wanted to place on fine-tuning their social skills. While so many of our friends were focusing their efforts on only academics, we felt that fantastic social skills might be even more beneficial to them as they grew. The magic sauce.
With that in mind, we heavily encouraged all three of them to go to school dances, participate in loads of extracurricular activities, volunteer, try out for many sports, and join interesting organizations. In addition, we rigorously encouraged them to invite their friends over to our farm. After all, that’s why we bought it in the first place. For them.
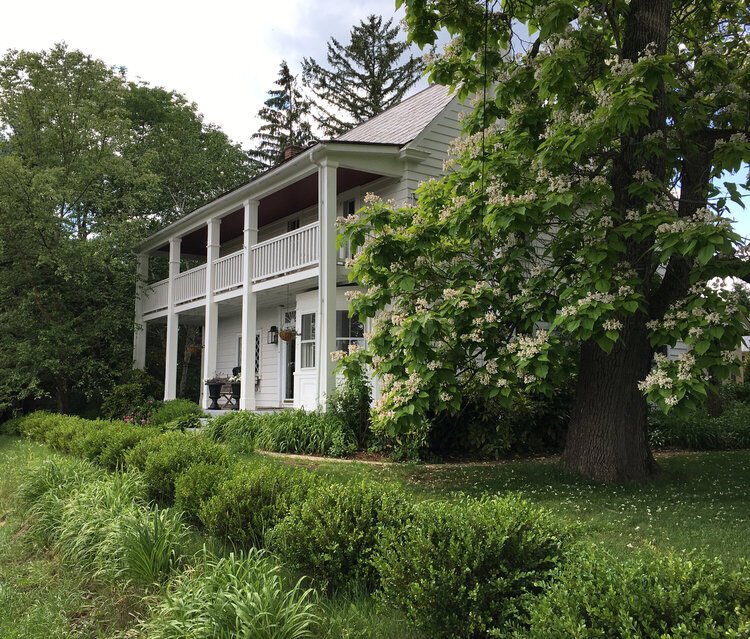
Windy Hill Farmhouse circa 1840.
Our Farm
Windy Hill is our home in Bucks County, PA. We purchased this nineteenth-century farm in 2007, just as our oldest, Kate, was entering 2nd grade. We love this place with all our hearts, and we use just about every square inch of it for grand backyard picnics, balcony firework viewing parties, holiday gatherings, campfire soirees, volleyball tournaments, movie nights, and even a college reunion a few years back.

A Pennsylvania Winter Snow at Windy Hill Farm.

College reunion backyard event. #UniversityofDelaware #VC88
So why not Host a Friendsgiving?
This old, sturdy house is truly a HOME, and here is one way we share it with others.
Back when the kids were in high school we started hosting a Windy Hill Friendsgiving. Every year since, just a day or two before Thanksgiving, we open our doors, our hearts, and every single room in our home to all 3 layers of our children’s social networks.

Kate and some old friends.
text group Planning
The planning begins about a month out and the great part is that I don’t really need to do much at all as our kids fully coordinate the day. They plan the entire menu primarily through group text chains, help with table and chair set up, and by adorning with appropriate decor. Banners are hung by the threshold with care in hopes that Friendsgiving soon will be there.

Tessa and girlfriends gather under the banner.
The homecooked Meal
Via text, each friend joining us is assigned one dish to share. It’s just an old-fashioned Potluck. Some kids choose their specialty, as is the case with Mckenna who always bakes her sought-after peanut butter cup cookies. As expected some kids like to sign up for “drinks” or “dinner rolls”, something they can grab on the way over, while others make their grandma’s homemade stuffing. It’s remarkable that all the bases are always covered, no one needs to stress, and there is plenty for everyone. So simple for me.

Elementary school friends Danny and Kyle eyeing up the meats.
Buffet Style is best
When everyone arrives the traveling casseroles are lined up all over the kitchen so that everyone can dig in buffet style. This is understandably the easiest way to host, as hungry boys line up quickly and it’s best if the food is all in one place.

Blake’s friends line up at the kitchen island.

I try to capture the happy moments as friends reunite.
Small House, Many Guests
Some years we hosted 40+ guests, from all 3 different groups of friends. Since the kids are so close in age it’s nice because everyone knows everyone all throughout the house. We try to have tables everywhere so there is plenty of seating. This is a little outdoor cafe table that I cover and set in the corner of the family room for more intimate dining. Maybe it reminds them of Paris.

Jenna, McKenna and Tristan enjoy a quiet corner.
It depends on the year, but sometimes all the guys gather to feast separately from the gals, but other times, everybody mixes up the fun. Guy-only tables can get pretty messy but I stay focused on the fun and photos, and the kids always help with clean up - they are just such a great group.

The guy table.
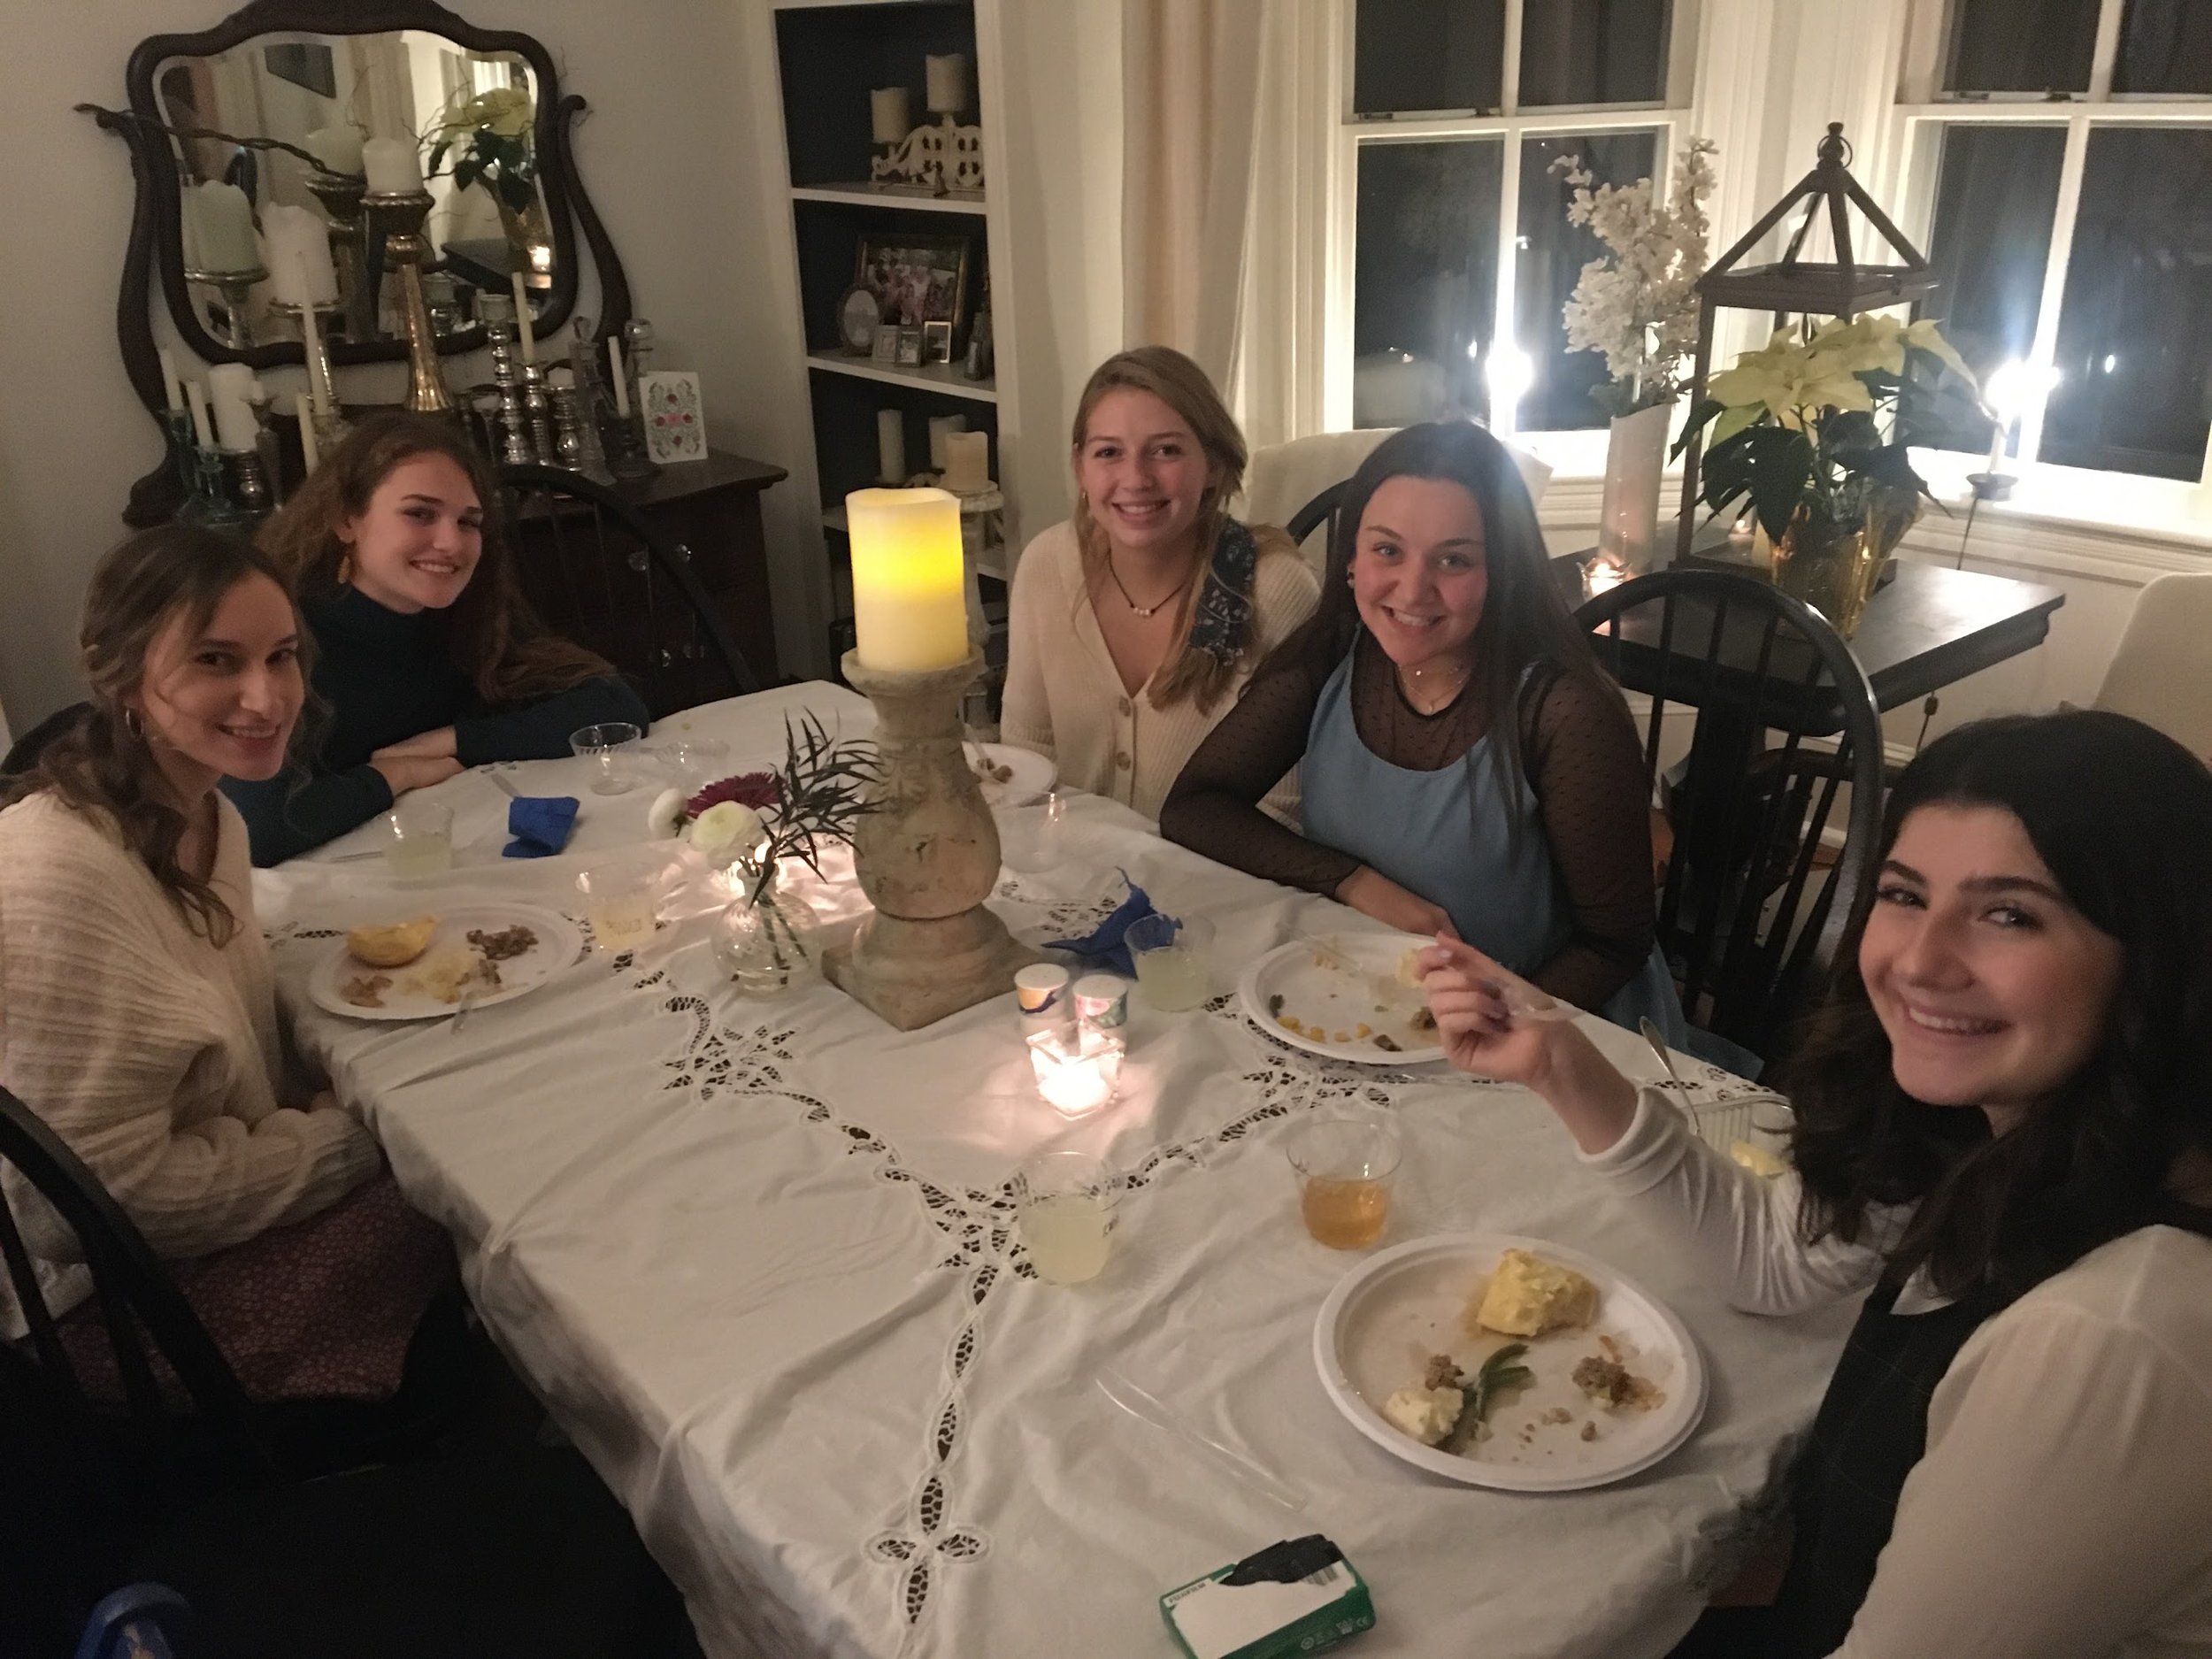
Gals choose the other side of the dining room.
Will I have enough space?
We only have 4 small rooms plus a mudroom on the lower level of the farmhouse, so squeezing all these kids in at once is no easy task. I’ve been known to cast our sofas onto the deck in order to set up several 8ft long tables with our flea market stash of odd wooden chairs so there is plenty of space. The kids just love it and it’s totally worth it. Memories mean a lot.

Move furniture, add tables, make memories.
Free-but-festive Centerpieces
And as the day approaches everyone helps gather pinecones and greens for the “free-but-festive” centerpieces. Unique every year. Plus each fall I bulk up on plenty of votives so there’s always a cozy glow throughout. Votives are low on the table, the candles don’t drip wax, and they are just plain easy.

Hugs and kisses everywhere.
Nothing too precious attitude
I love this tradition and I am so glad nothing was ever too precious here to prevent us from turning Windy Hill into a Friendsgiving HUB. Sharing our home in all the ways we have and taking the time to know so many of our children’s friends has helped us too.
Over the years our farm has also been the gathering spot for our friends many of whom are, not surprisingly, the parents of the kids in these photos. I think if you have a farm with this much history (the topic for another blog), it’s a good idea to continuously SHARE it, and share it well. Friendsgiving 2022 is tomorrow, so now I’ve got to go! Much love and Happy Thanksgiving all!

Tess and her clan of pals.

Kate’s friends, home from college, squeeze into the corner cafe.
Thanks for reading, I’d love to hear from you in the comments below. -Kim
If you’re a blogger, what’s your favorite SEO Tool? I’ve had much keyword success with RankIQ. Learn more here.
Learn: The earliest use of the term Friendsgiving dates back to a 2007 tweet, but some people credit the hit show Friends for inspiring the concept of spending the holiday with friends.
Create: Cultivate the “spirit” by inviting your kid’s friends to your home often.
Inspire: Host a Friendsgiving of your own soon.
I’m always here to help you with your creative journey. Please sign up to receive blog post notifications and follow Studio Sprig on Instagram, Facebook, and Pinterest. I look forward to connecting. - Kim
Shop this blog:
Friendsgiving Burlap Banner
Glass Votives
Big box of small candles
Long Tables
If you are enjoying my blog, please sign up to receive my blog updates on my homepage.
Contact Kim Bensing, Art Director, Studio Sprig

Lambertville, Nj , A Funky, Cool Rivertown You Must Visit on Halloween.
Enjoy this blog about Halloween in Lambertville, NJ.

Photo by John Arehart
Are you familiar with Lambertville, New Jersey, declared one of Forbes's 15 prettiest towns in America and, in my opinion, one of the funkiest at Halloween? If not, may I suggest you pay a visit, and most definitely during the Halloween season? I regret to say that I’ve lived in this region for the past 23 years and Lambertville’s ethereal and artistic displays are something I just learned about yesterday!
Last night my husband Michael and I were taken on a private little tour by our friends Stacy and Bill. They’ve been strolling around Lambertville, particularly Union Street, for years during the Halloween season, and could not wait to share it with us. We are so glad they did. I’ve also enlisted the help of my friend and fabulous photographer, John Arehart, for some daylit photos because as luck would have it he also visited yesterday and captured some great images to share.

Photo by John Arehart
Spookier-Than-Average
For starters, the entire town is decorated in a “spookier-than-average way", but one house in particular really does stand out. It’s called “The Halloween House," at 133 North Union Street, Lambertville, NJ, and it has become known as a display of stylized hand-crafted figures that are ethereal, macabre, and compelling enough to bring visitors back year after year. They are all created by artist, Dolores Dragan, now a regular spook celeb in town.

Photo by John Arehart
Trick or Theatrics
So Dolores Dragan, a longtime resident of Lambertville, started creating an annual display of these interesting figures in 1998 when she was still teaching art at Lambertville School. What began as a theater project to help children at her school, quickly turned into a tourism wonder. Tourists come from far and wide to see her beautifully backlit works of art and marvel at the ingenious ways she displays them. The long line to enter her side and backyard reached way down the block last night. This however was not a problem as almost every house on Union Street is enchanted with its own creepy version of delights.

Photo by John Arehart
A Memory Maker
In this wonderful video produced by Bob Krist, Dragan says she decided after she retired from teaching that she would take on the role of a "memory maker” and create these fantastic sculptures and display them on Halloween. Dolores said "I would like to donate memories every single year to children who come by here. Show them something they've never seen before... and will talk about for the rest of their lives."
Dolores works from July-October on new figures and repairs. As you can see in Bob’s video, she is a true artist. Her sculptures made from plaster and gauze are reminiscent of Tim Burton’s characters, but Dolores says they each loosely represent people in her life. I guess she’s creating a Hallowfamily of sorts and once a year they come to gather at Dolores’s and “spook out” the town.

Photo by John Arehart
An Artistically Inspiring Rivertown
So, If you decide to pop over the bridge from New Hope, PA, to see the sights, don’t think you’re coming for only one house. There are now many, many neighbors participating in this larger-than-life Halloween spectacle. I’ve included some highlights here for you to see some of the immense creativity. One home was projecting Edward Scissorhands on a front porch screen, while others propped sinister, red-eyed ghosts and goblins in the uppermost windows of their vast Victorian homes. We found a friendly Witch House, massive trees filled with flying ghosts, a stripper skeleton dangling upsidedown on a pole (very interesting) and many other examples of well thought out halloween artistry. If you decide to mill around these two lovely Rivertowns be sure to enjoy some dinner, shopping, music, and drinks before you visit the funky festive displays. It’s a good idea for your new and more artistically inspiring life.

photo by John Arehart

The Friendly Witches House, Union Street, Lambertville, NJ 2022

Photo by John Arehart

The Ghost Tree, Union Street, Lambertville, NJ 2022

Stacy, Bill, Kim, Michael in front of The Halloween House, Union Street, Lambertville, NJ 2022

Photo by John Arehart

The Halloween House by Dolores Dragan, Union Street, Lambertville, NJ 2022

Photo by John Arehart
Hi, I’m Kim. Welcome to Studio Sprig.
Kim Bensing’s original watercolors and designs are now available on wallpaper and fabric. To order visit Studio Sprig’s design library on Spoonflower. Contact me if you need assistance.
-
EVENTS
22
- Oct 23, 2026 Wrapped in Wonder: The Art of Giving a Gift Oct 23, 2026
- Sep 26, 2026 Homecoming Flowers: A Beautiful Tradition Then and Now Sep 26, 2026
- Sep 23, 2026 Choose Wedding Flowers With Meaning: How to Create a Bouquet That Tells Your Love Story Sep 23, 2026
- Sep 21, 2026 The Pre-Prom Tradition Every Mom Should Try: Host a Backyard Bouquet Party Sep 21, 2026
- Sep 18, 2026 Lambertville’s Halloween Magic: A Funky, Creative Rivertown Comes Alive Sep 18, 2026
- Aug 20, 2026 How to Host a Beautiful Flower Bar: The Ultimate DIY Flower Bar Party Guide Aug 20, 2026
- Aug 19, 2026 How to Decorate Cakes with Fresh Flowers: Floral Wreaths, Crowns & More Aug 19, 2026
- Aug 19, 2026 Decorating Cakes with Fresh Flowers Aug 19, 2026
- May 18, 2025 How to Make DIY Bouquets for Prom May 18, 2025
- May 7, 2025 How to Preserve and Use Your Spring Flowers - All Year Long May 7, 2025
- Feb 27, 2025 Get Excited for The Flower Show Feb 27, 2025
- Feb 14, 2025 Historic Castles. What are they used for? Feb 14, 2025
- Jan 31, 2025 Creative Ideas For Your Valentine Jan 31, 2025
- Jan 28, 2025 How An Invitation Can Tell Your Love Story Jan 28, 2025
- Jan 23, 2025 How to Design a Valentine Tree Jan 23, 2025
- Jan 16, 2025 Host a Fabulous Bouquet Bar for Valentine's Day Jan 16, 2025
- Apr 4, 2023 Why Choose Seasonal Flowers for Your Special Occasion? Apr 4, 2023
- Feb 1, 2023 10 Ideas for an Eco-Friendly Event or Wedding Feb 1, 2023
- Nov 14, 2022 A Family Tree Inspired Wedding Invitation Nov 14, 2022
- Oct 3, 2022 How to choose flowers that have sentimental meaning Oct 3, 2022
- Nov 9, 2020 Simplified Wedding Ceremony during Covid Nov 9, 2020
- Apr 2, 2019 Why You Should Choose Seasonal Prom Flowers Apr 2, 2019
-
HOME
23
- Sep 9, 2026 How to Name a Farm: 10 Meaningful Ideas for Creating a Name With a Story Sep 9, 2026
- Sep 1, 2026 How to Preserve Flowers for Creative Projects Sep 1, 2026
- Jul 2, 2026 How to make your own flower confetti Jul 2, 2026
- Apr 22, 2025 How We Painted our Barn Apr 22, 2025
- Apr 16, 2025 What to Plant for Mesmerizing Spring Blooms Apr 16, 2025
- Apr 8, 2025 Narcissus AKA Daffodil - What's Blooming at Studio Sprig Apr 8, 2025
- Apr 1, 2025 Glory-of-the-Snow - What's Blooming at Studio Sprig Apr 1, 2025
- Mar 19, 2025 How we turned an Artist Studio into a Weekend Retreat Mar 19, 2025
- Mar 12, 2025 The Mighty Crocus - First to Bloom - What's Blooming at Studio Sprig Mar 12, 2025
- Jan 23, 2025 How to Design a Valentine Tree Jan 23, 2025
- Jan 16, 2025 Host a Fabulous Bouquet Bar for Valentine's Day Jan 16, 2025
- Jan 9, 2025 How to Make Your Own Mint Tea Jan 9, 2025
- Jan 7, 2025 How To Create A Courtyard Jan 7, 2025
- Jan 2, 2025 How to Create a Stunning Centerpiece Jan 2, 2025
- Mar 27, 2023 How We Transformed Our Farmhouse Kitchen by Reusing, Updating, and Thrifting: (Coffee Bar) Mar 27, 2023
- Mar 27, 2023 How We Transformed Our Farmhouse Kitchen by Reusing, Updating, and Thrifting Mar 27, 2023
- Mar 1, 2023 How and Why We Love Historic Homes Mar 1, 2023
- Jan 3, 2023 Eliminate Sneaky Sugars Jan 3, 2023
- Dec 14, 2022 How to Create a Pretty Mini Bar with Items You Already Own Dec 14, 2022
- Nov 21, 2022 Friendsgiving At Our Farm Nov 21, 2022
- Nov 9, 2022 Herbs: How to Grow, Harvest and Dry Your Own Nov 9, 2022
- Nov 9, 2022 DIY Herb Drying Rack: Herb Drying at Home Nov 9, 2022
- Oct 12, 2022 Have you ever thought about creating a beautiful water feature? Oct 12, 2022
-
STYLE
27
- Oct 6, 2026 Where Flowers Become Art, Experiences & Memories Oct 6, 2026
- Sep 1, 2026 How to Preserve Flowers for Creative Projects Sep 1, 2026
- Aug 20, 2026 How to Host a Beautiful Flower Bar: The Ultimate DIY Flower Bar Party Guide Aug 20, 2026
- Aug 19, 2026 How to Decorate Cakes with Fresh Flowers: Floral Wreaths, Crowns & More Aug 19, 2026
- Aug 19, 2026 Decorating Cakes with Fresh Flowers Aug 19, 2026
- Jul 2, 2026 How to make your own flower confetti Jul 2, 2026
- Nov 3, 2025 Creating a Pressed Flower Frame Nov 3, 2025
- May 7, 2025 How to Preserve and Use Your Spring Flowers - All Year Long May 7, 2025
- Jan 28, 2025 How An Invitation Can Tell Your Love Story Jan 28, 2025
- Jan 23, 2025 How to Design a Valentine Tree Jan 23, 2025
- Jan 6, 2025 How to Create Oyster Shell Necklaces Jan 6, 2025
- Jan 2, 2025 How to Create a Stunning Centerpiece Jan 2, 2025
- Mar 14, 2023 How to Make Sentimental Easter Eggs Mar 14, 2023
- Mar 6, 2023 How to Enjoy The PHS Philadelphia Flower Show Mar 6, 2023
- Feb 13, 2023 Let's Save The Bees Feb 13, 2023
- Feb 1, 2023 10 Ideas for an Eco-Friendly Event or Wedding Feb 1, 2023
- Jan 12, 2023 A Great Way to Help Kids with Cancer (PENN STATE) Jan 12, 2023
- Dec 14, 2022 How to Create a Pretty Mini Bar with Items You Already Own Dec 14, 2022
- Nov 29, 2022 Lunch and Dinner -Studio Sprig Style Micro Blog Nov 29, 2022
- Nov 14, 2022 A Family Tree Inspired Wedding Invitation Nov 14, 2022
- Nov 9, 2022 DIY Herb Drying Rack: Herb Drying at Home Nov 9, 2022
- Oct 30, 2022 Lambertville, Nj , A Funky, Cool Rivertown You Must Visit on Halloween. Oct 30, 2022
- Oct 19, 2022 How to choose an interesting place to stay when you travel or go on vacation Oct 19, 2022
- Oct 12, 2022 Have you ever thought about creating a beautiful water feature? Oct 12, 2022
- Oct 3, 2022 How to choose flowers that have sentimental meaning Oct 3, 2022
- Feb 1, 2021 How to design marketing materials for your small business Feb 1, 2021
- Oct 29, 2020 Surprise the bride when you can't come to her wedding Oct 29, 2020