Forage from your gardens
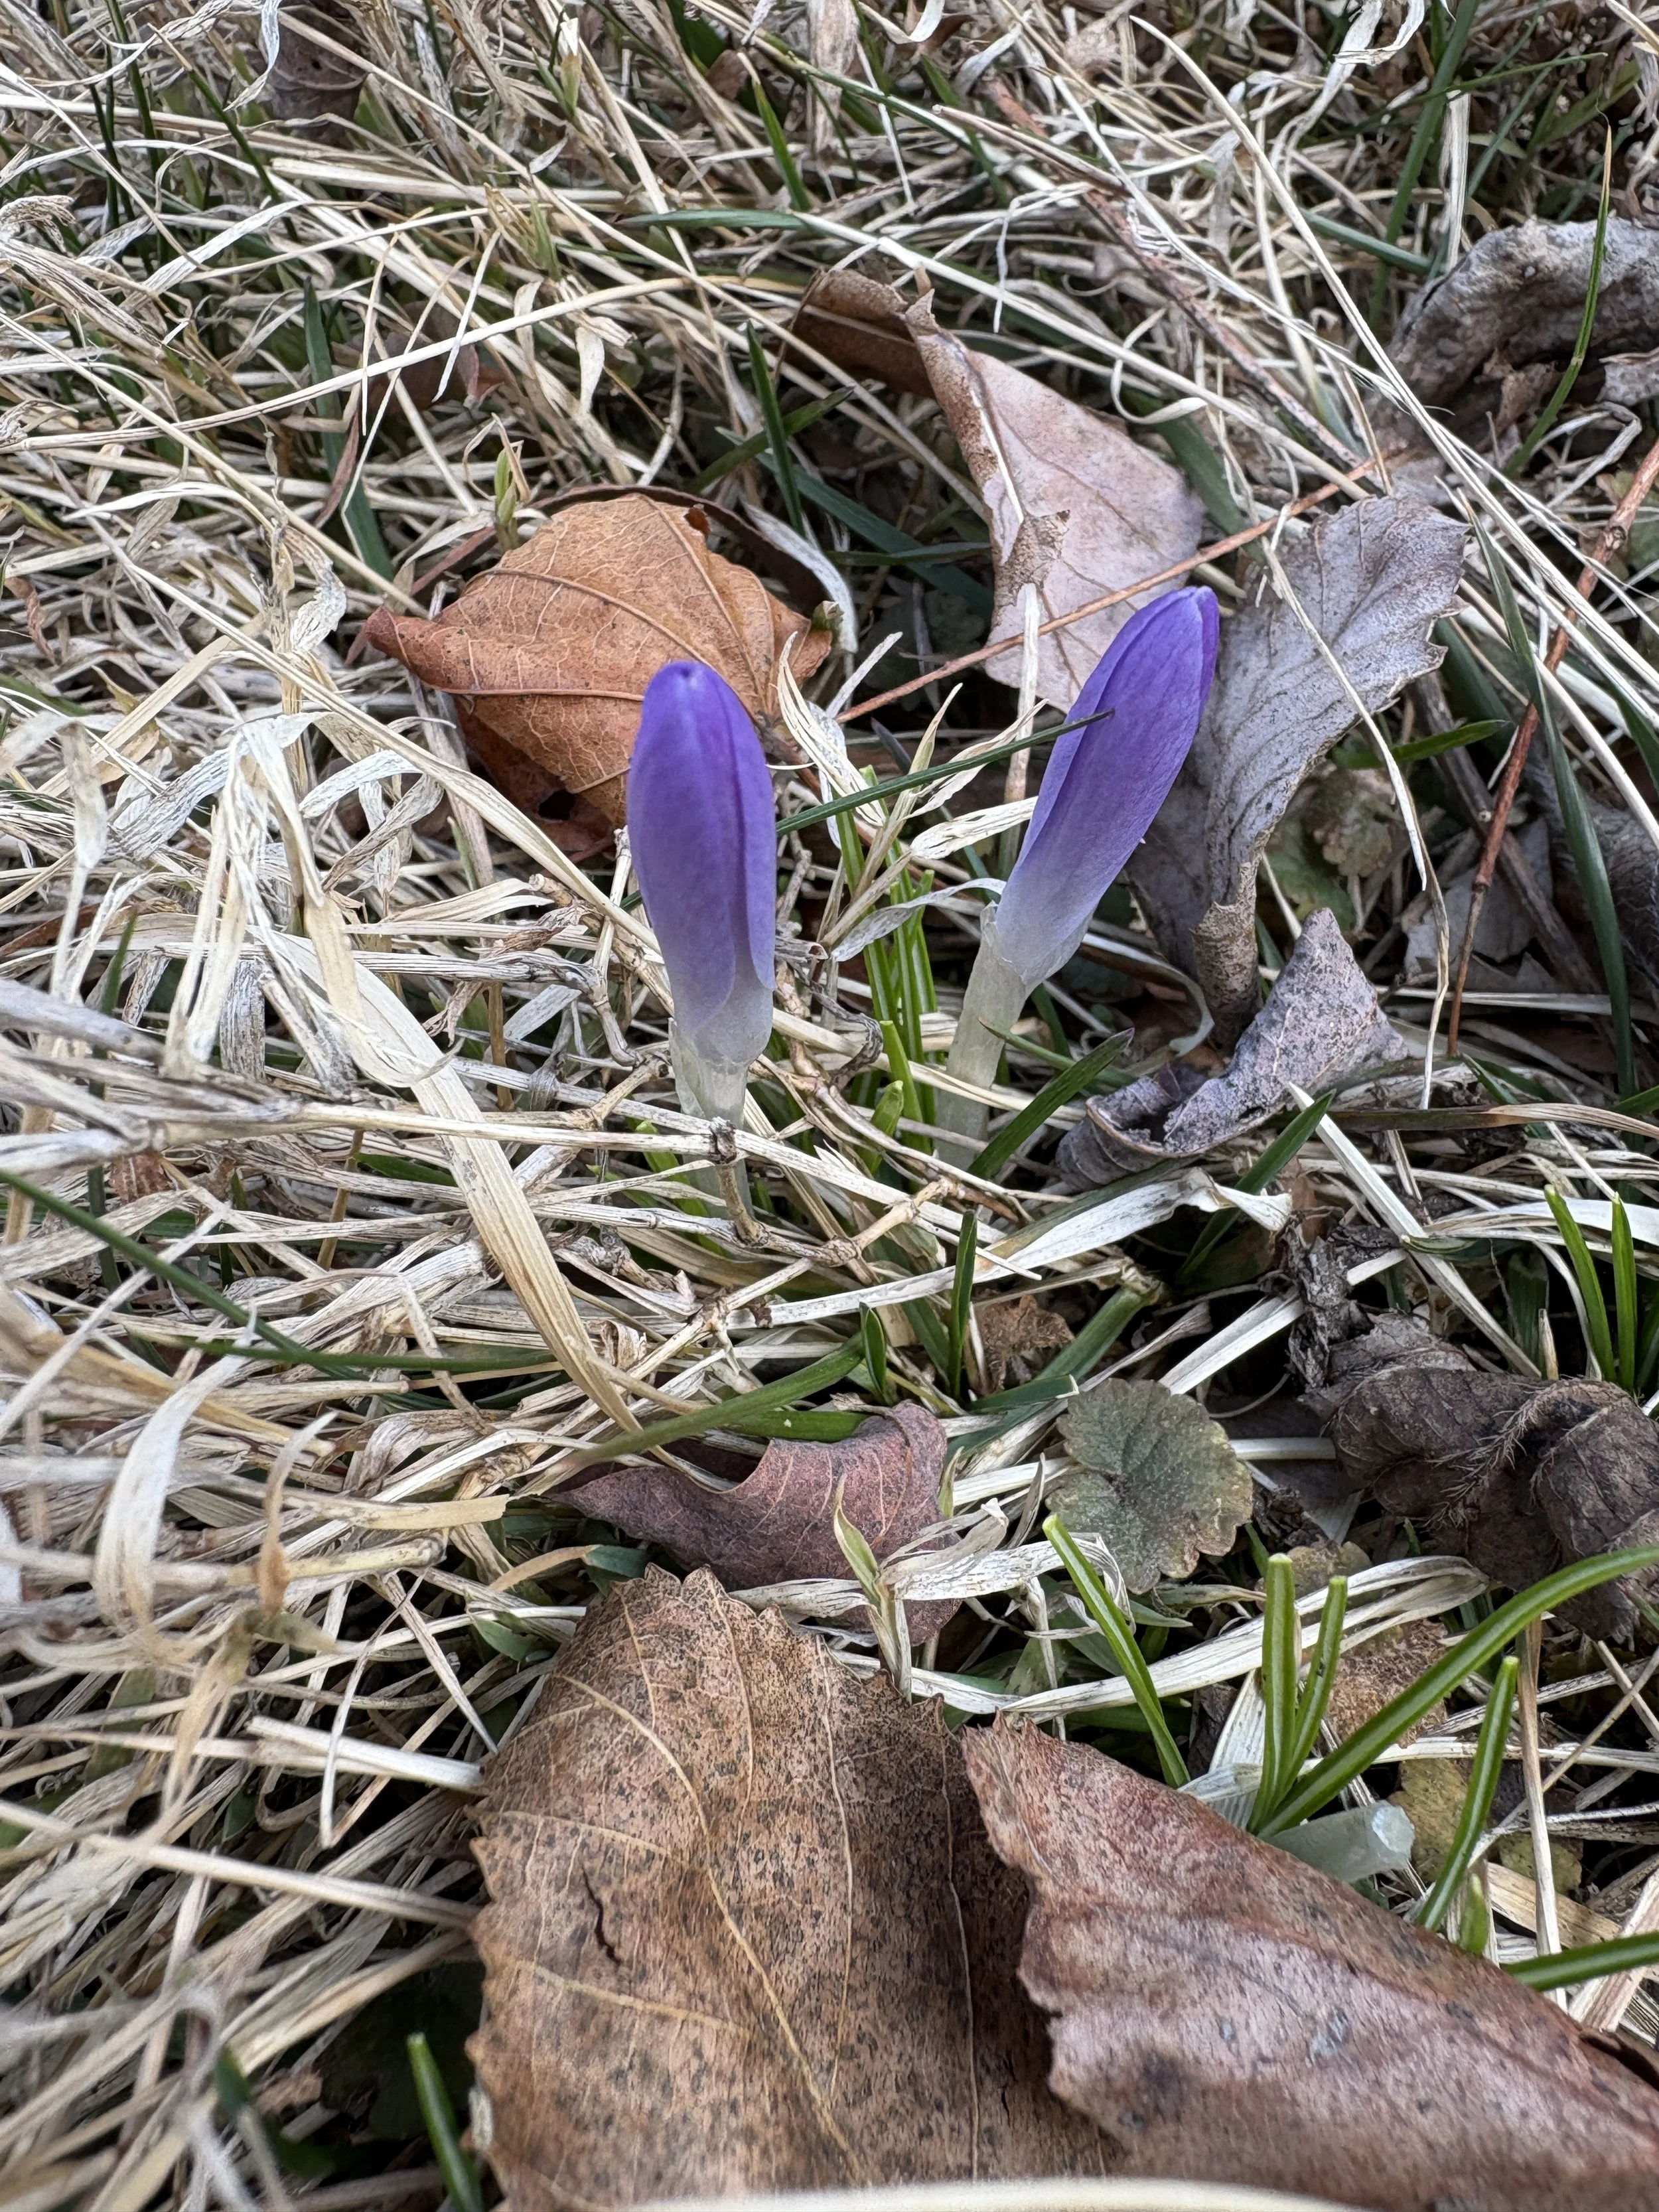
Take a walk around your gardens or a nearby meadow and bring your shears and a small bag or basket. Whenever I come across a flower with great color, I try to snip a few to use for flower confetti. Many cut flowers like to be cut regularly because this promotes new growth, so don’t be afraid to snip a few. If you are foraging in a meadow, make sure the petals are large enough, and if they are not, like with a wild daisy, snip the entire flower head.
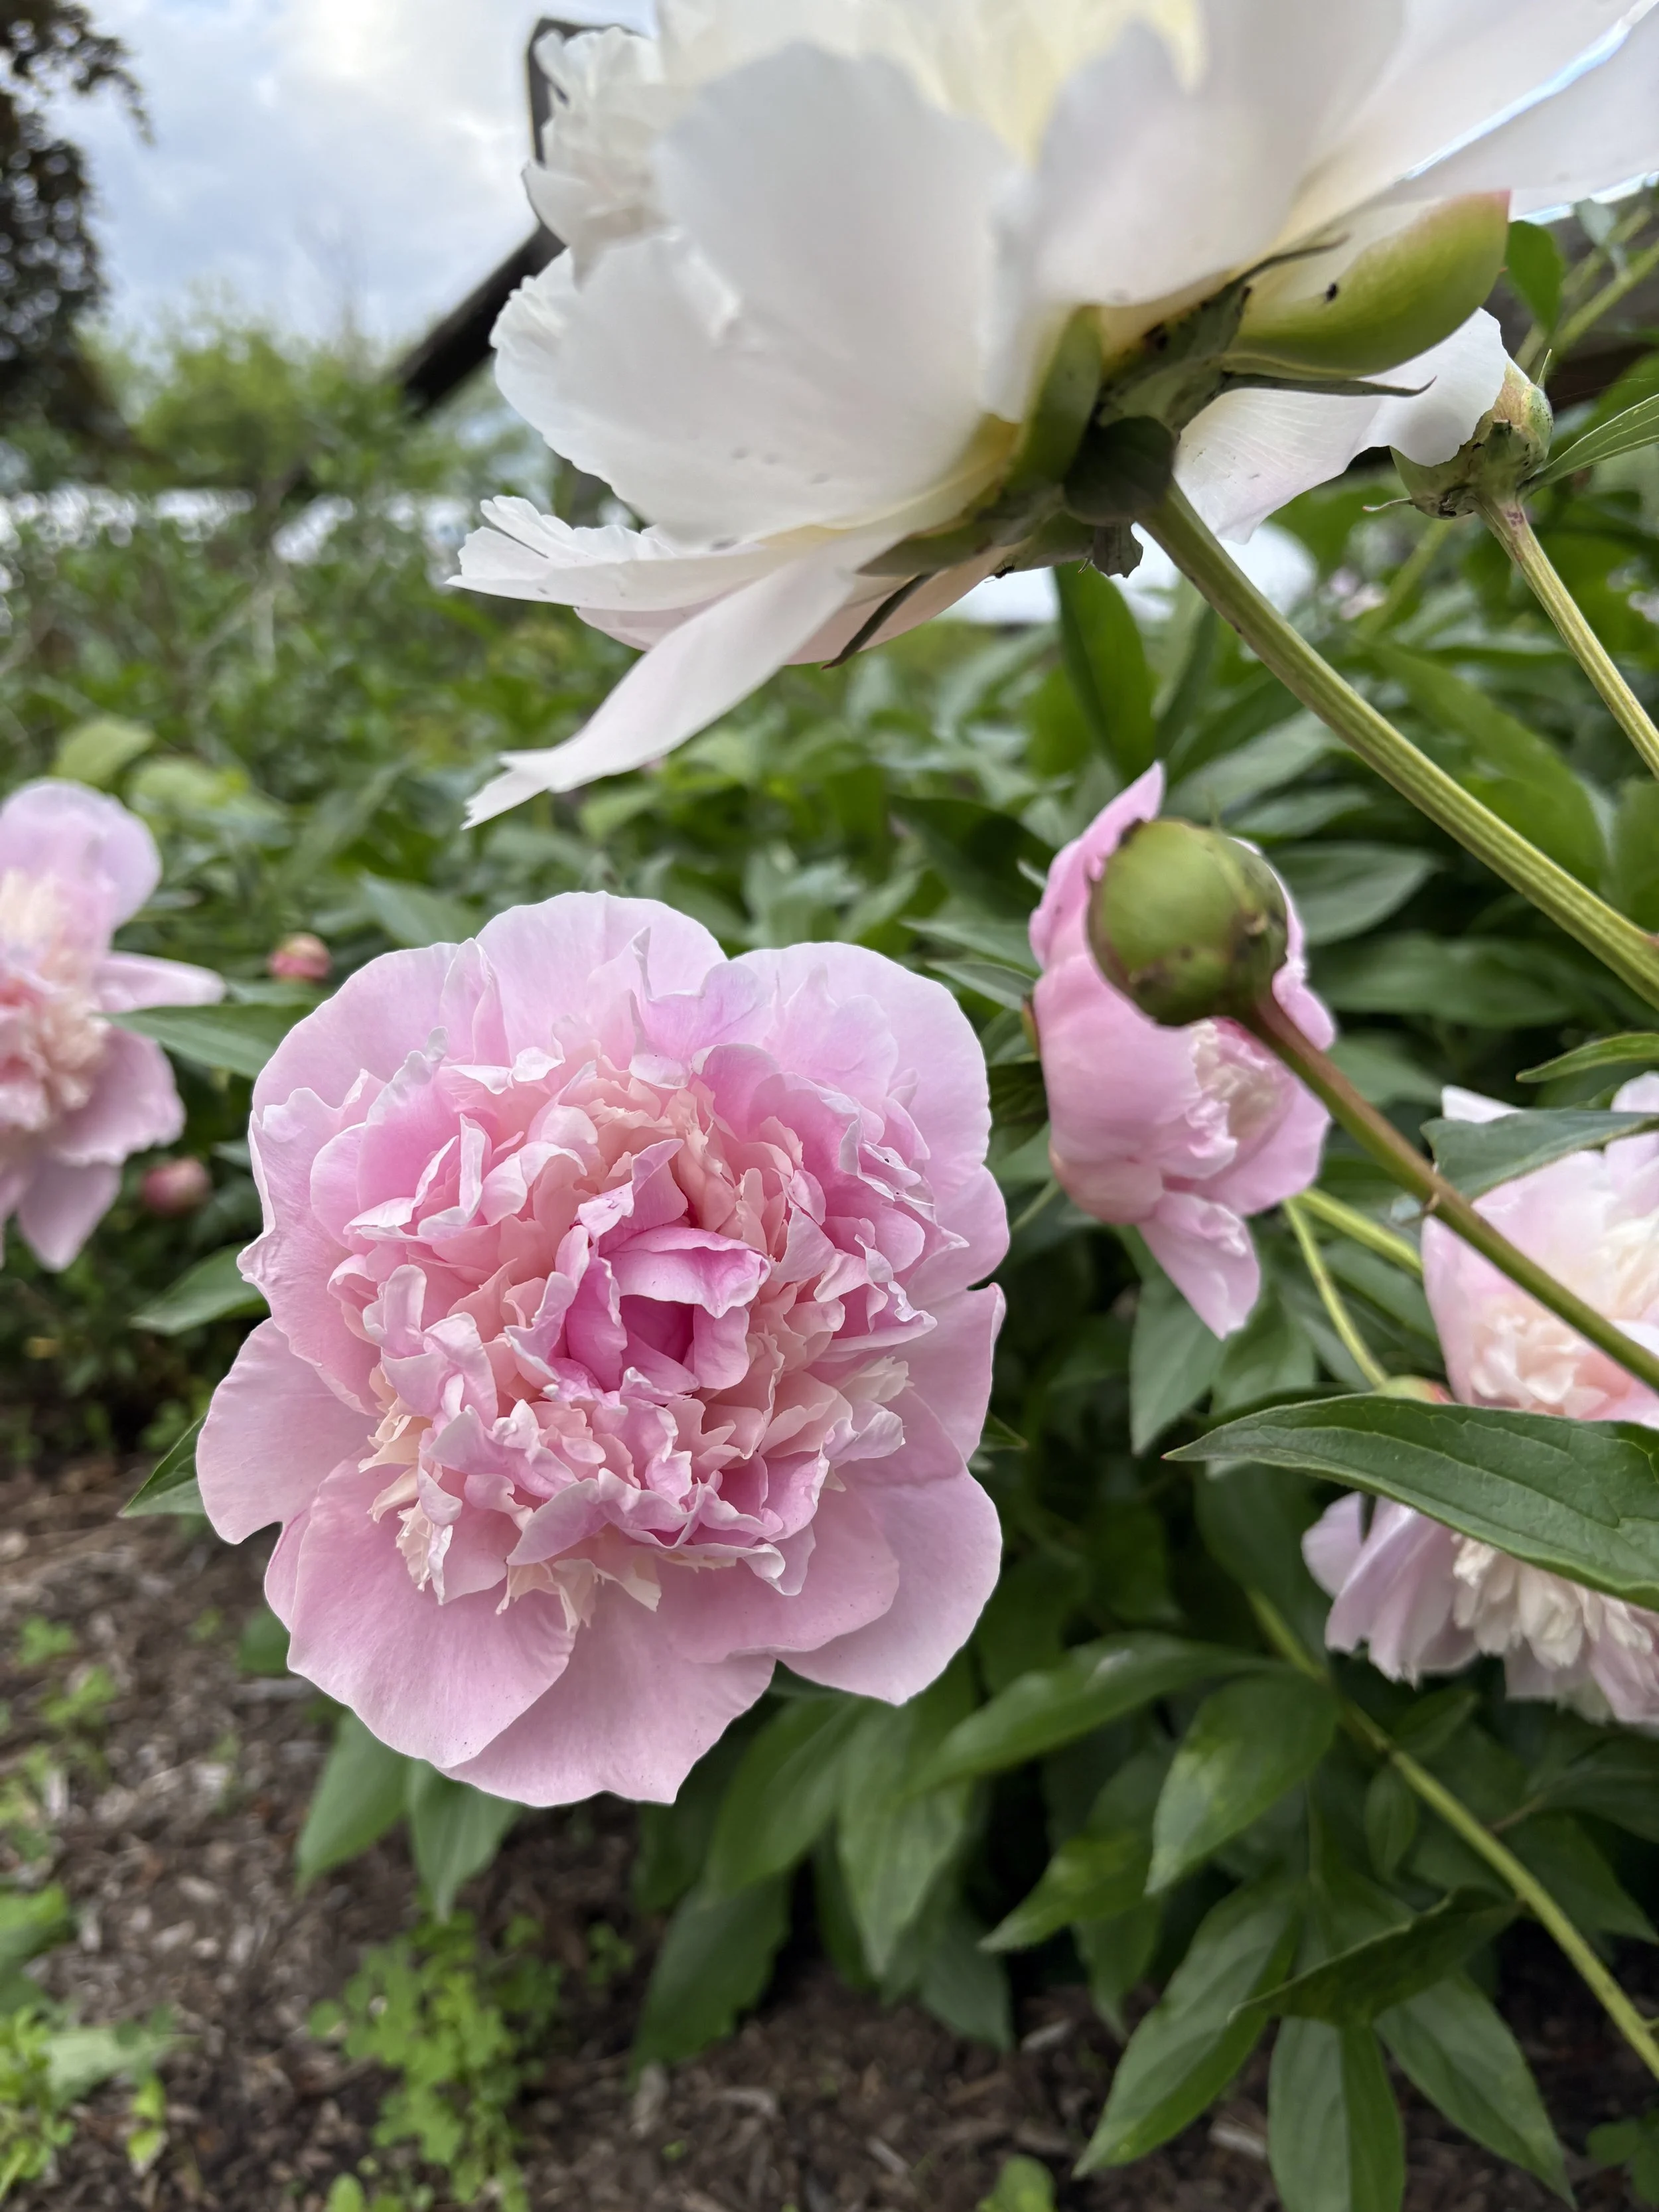
Choosing flowers with colorful petals
Save every petal
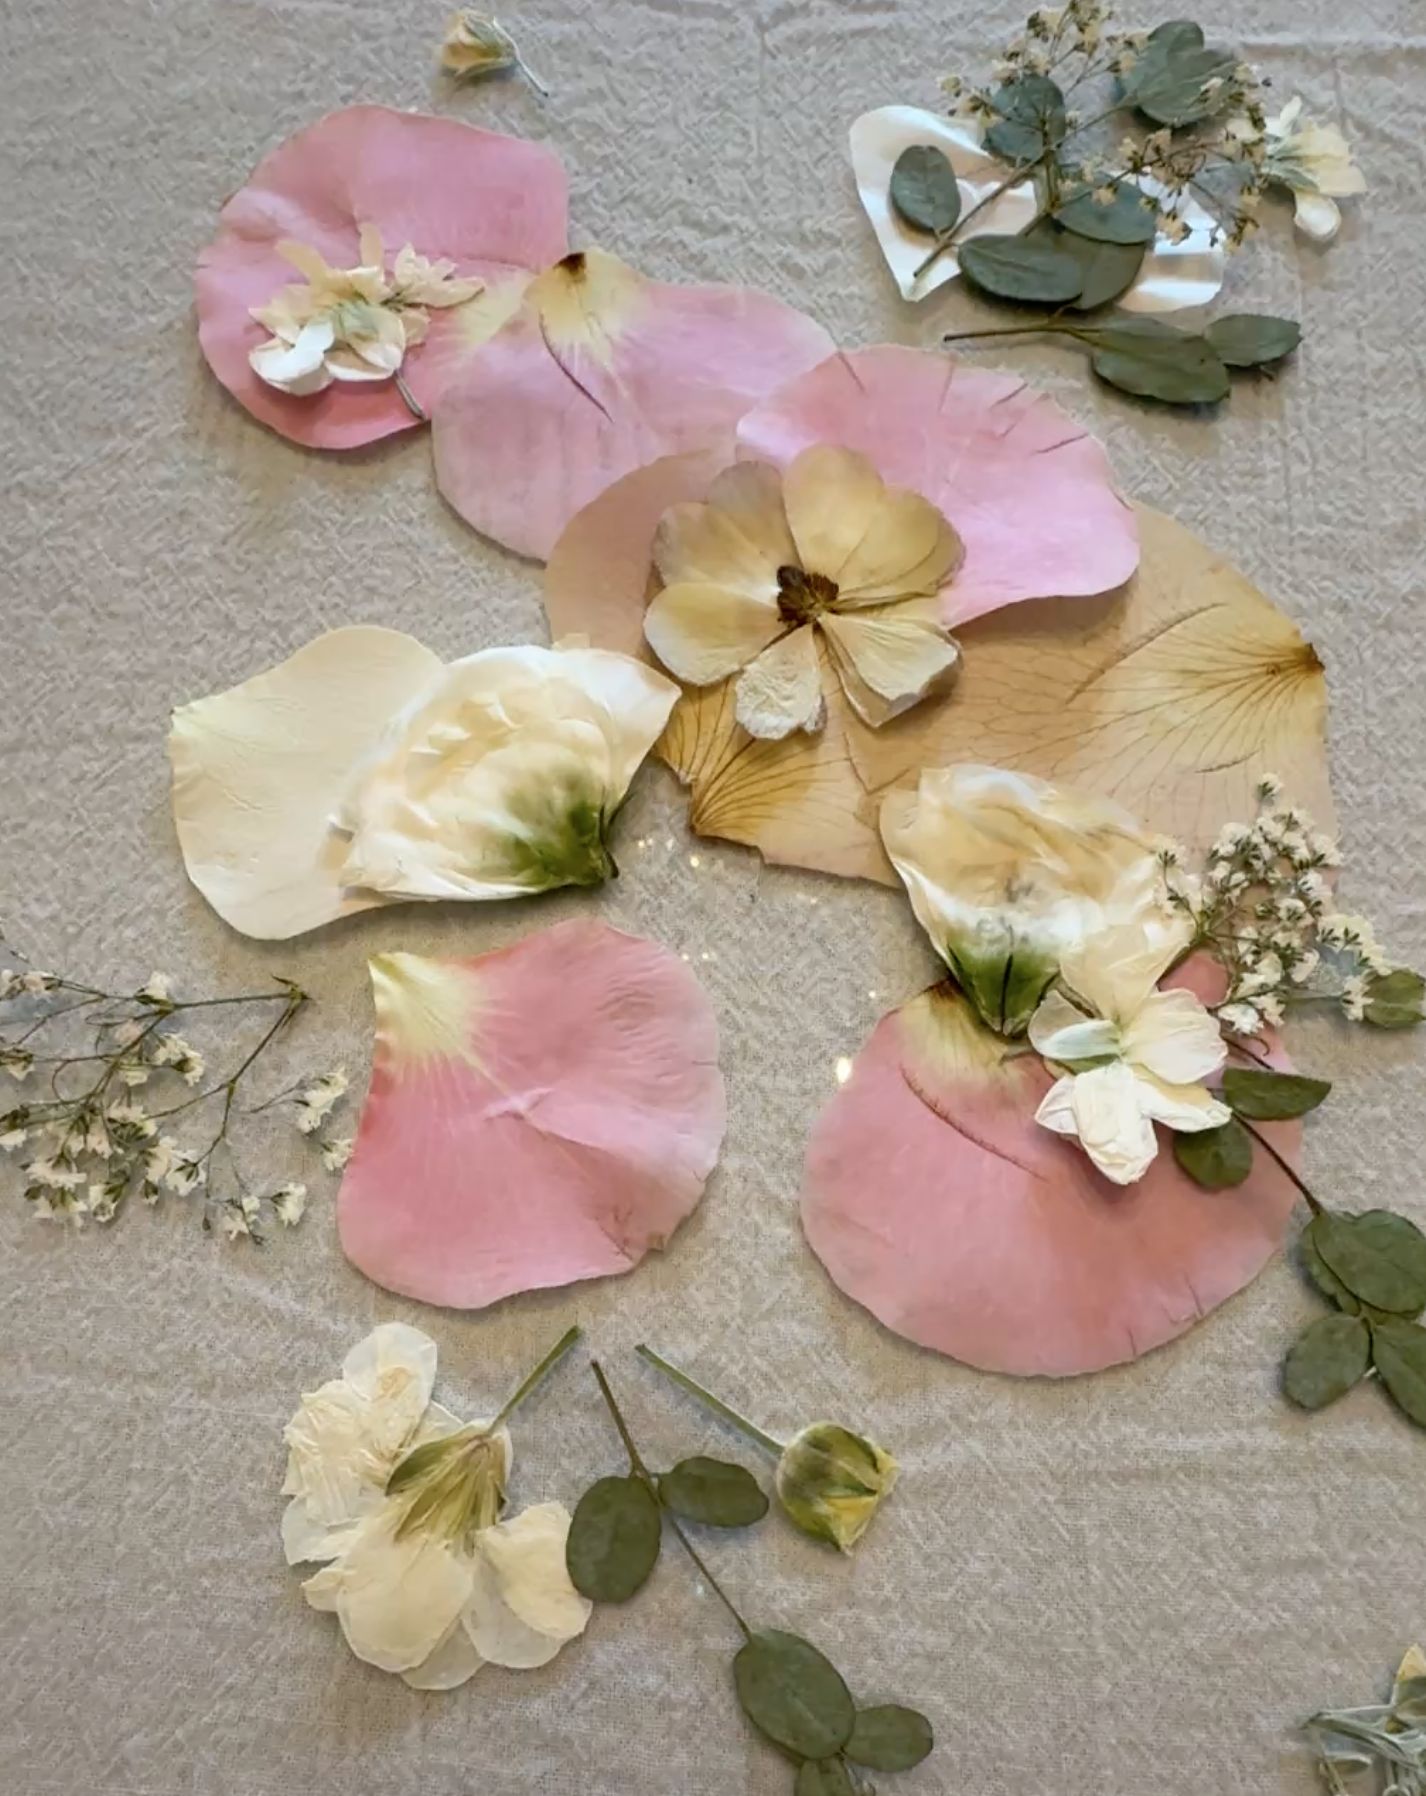
After foraging, lay everything out on a tray or towel to see what you have. Shoosh away any small insects and gently begin to remove the petals from the larger flowerheads before they turn brown
You can separate and leave the petals to dry as is on a flat surface or …
Place the petals in your dehydrator and set it to the lowest setting. Dehydrate for only about 1 hour or until all petals are completely dry but not brown. Be careful not to over-dehydrate; watch closely. All flowers are different, so this step needs to be monitored
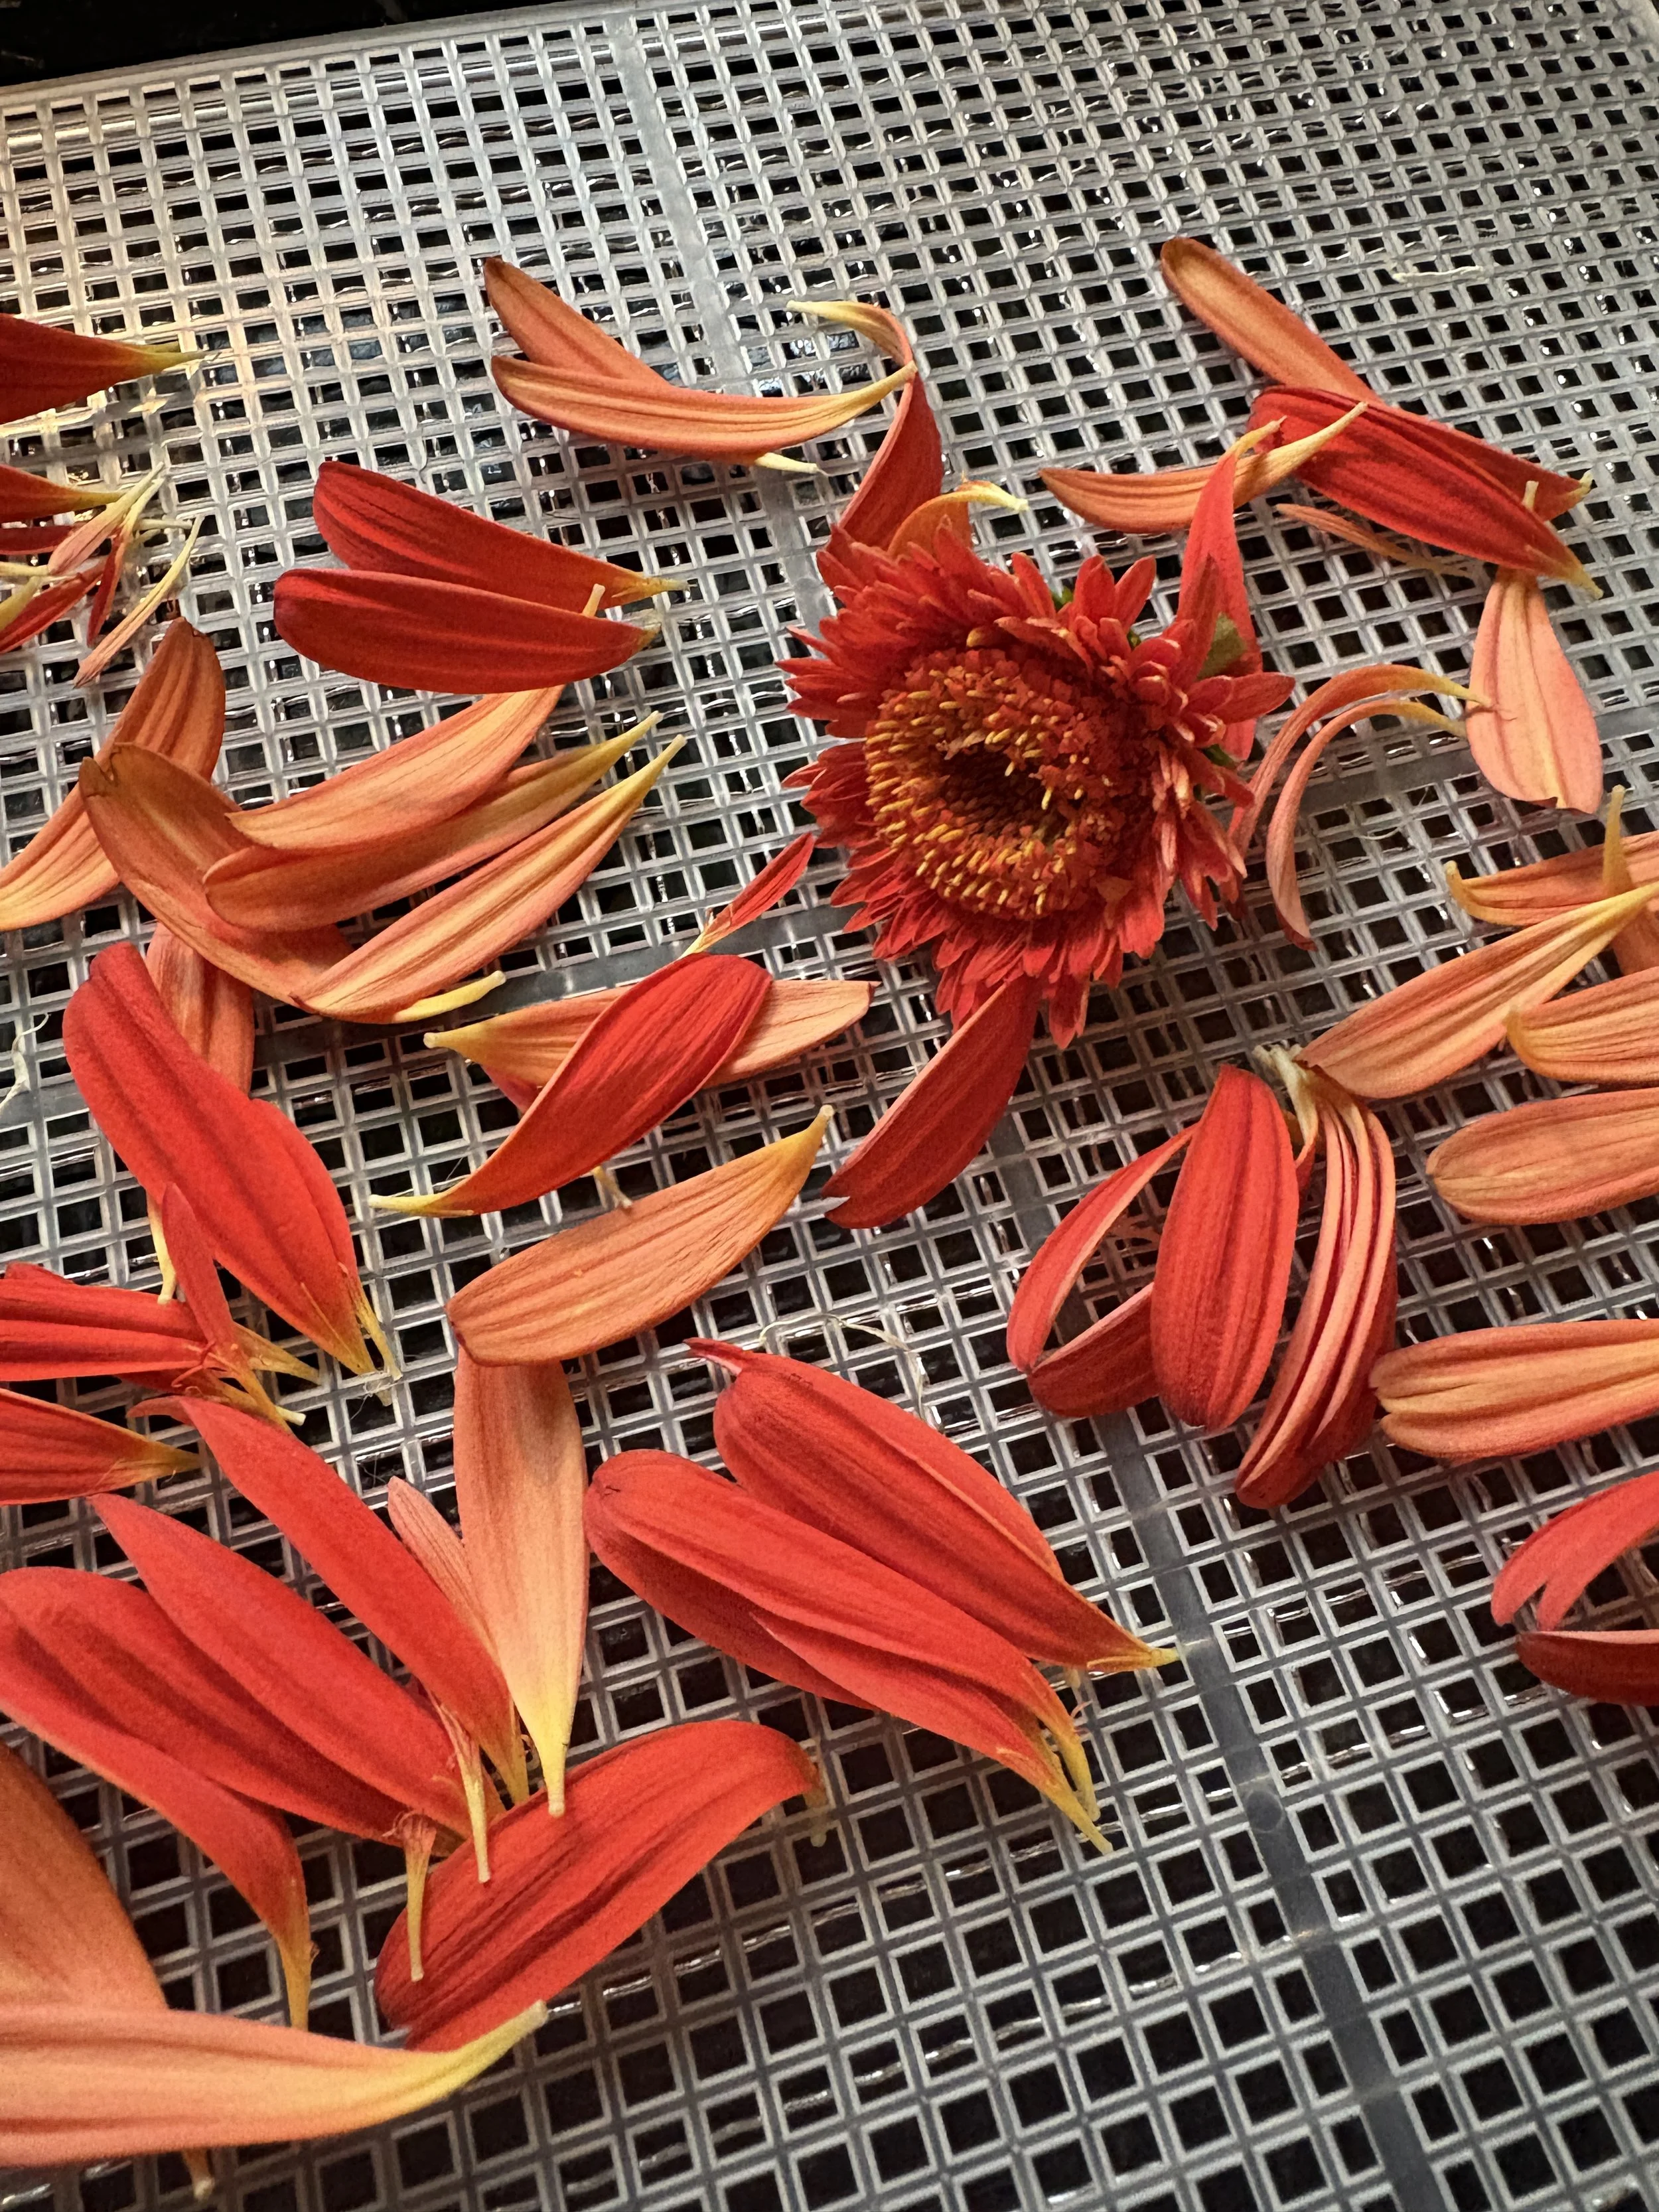
Separating the petals from the centers
Store After Drying
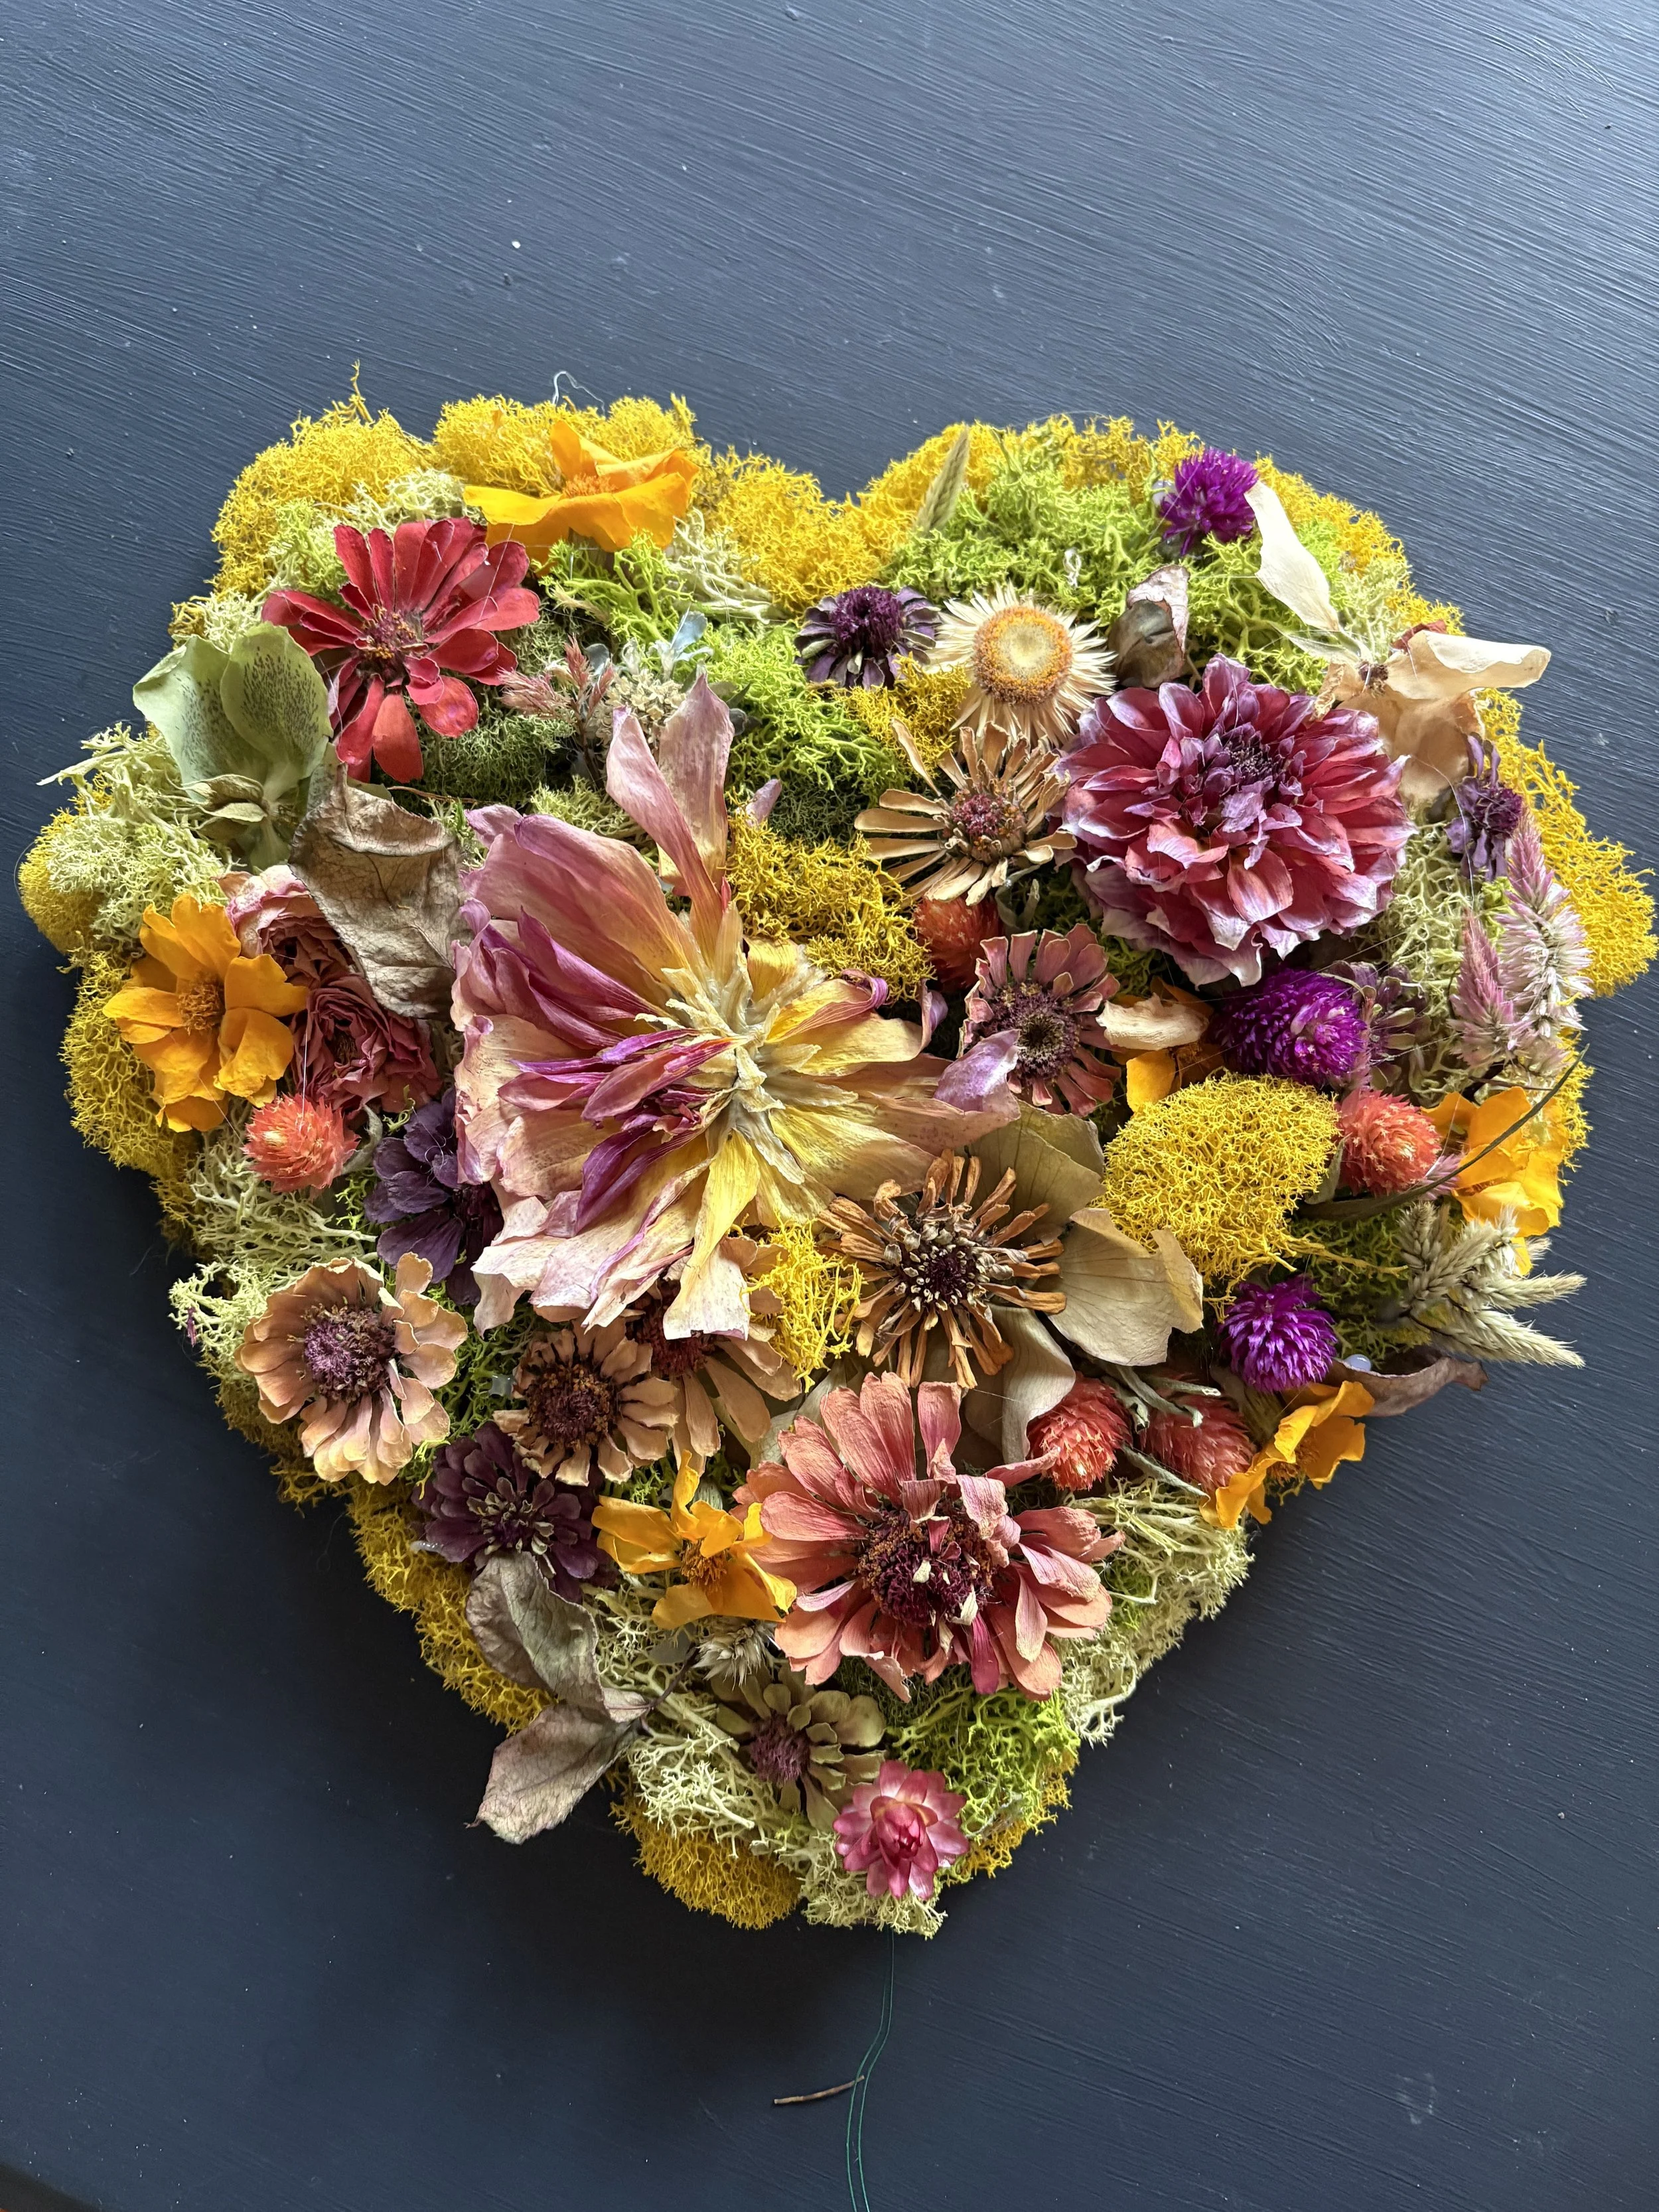
Separate and place the petals on a white plate so you can easily see the array of colors, and if necessary, wait several days to make sure they completely dry
Discard any petals that have turned brown
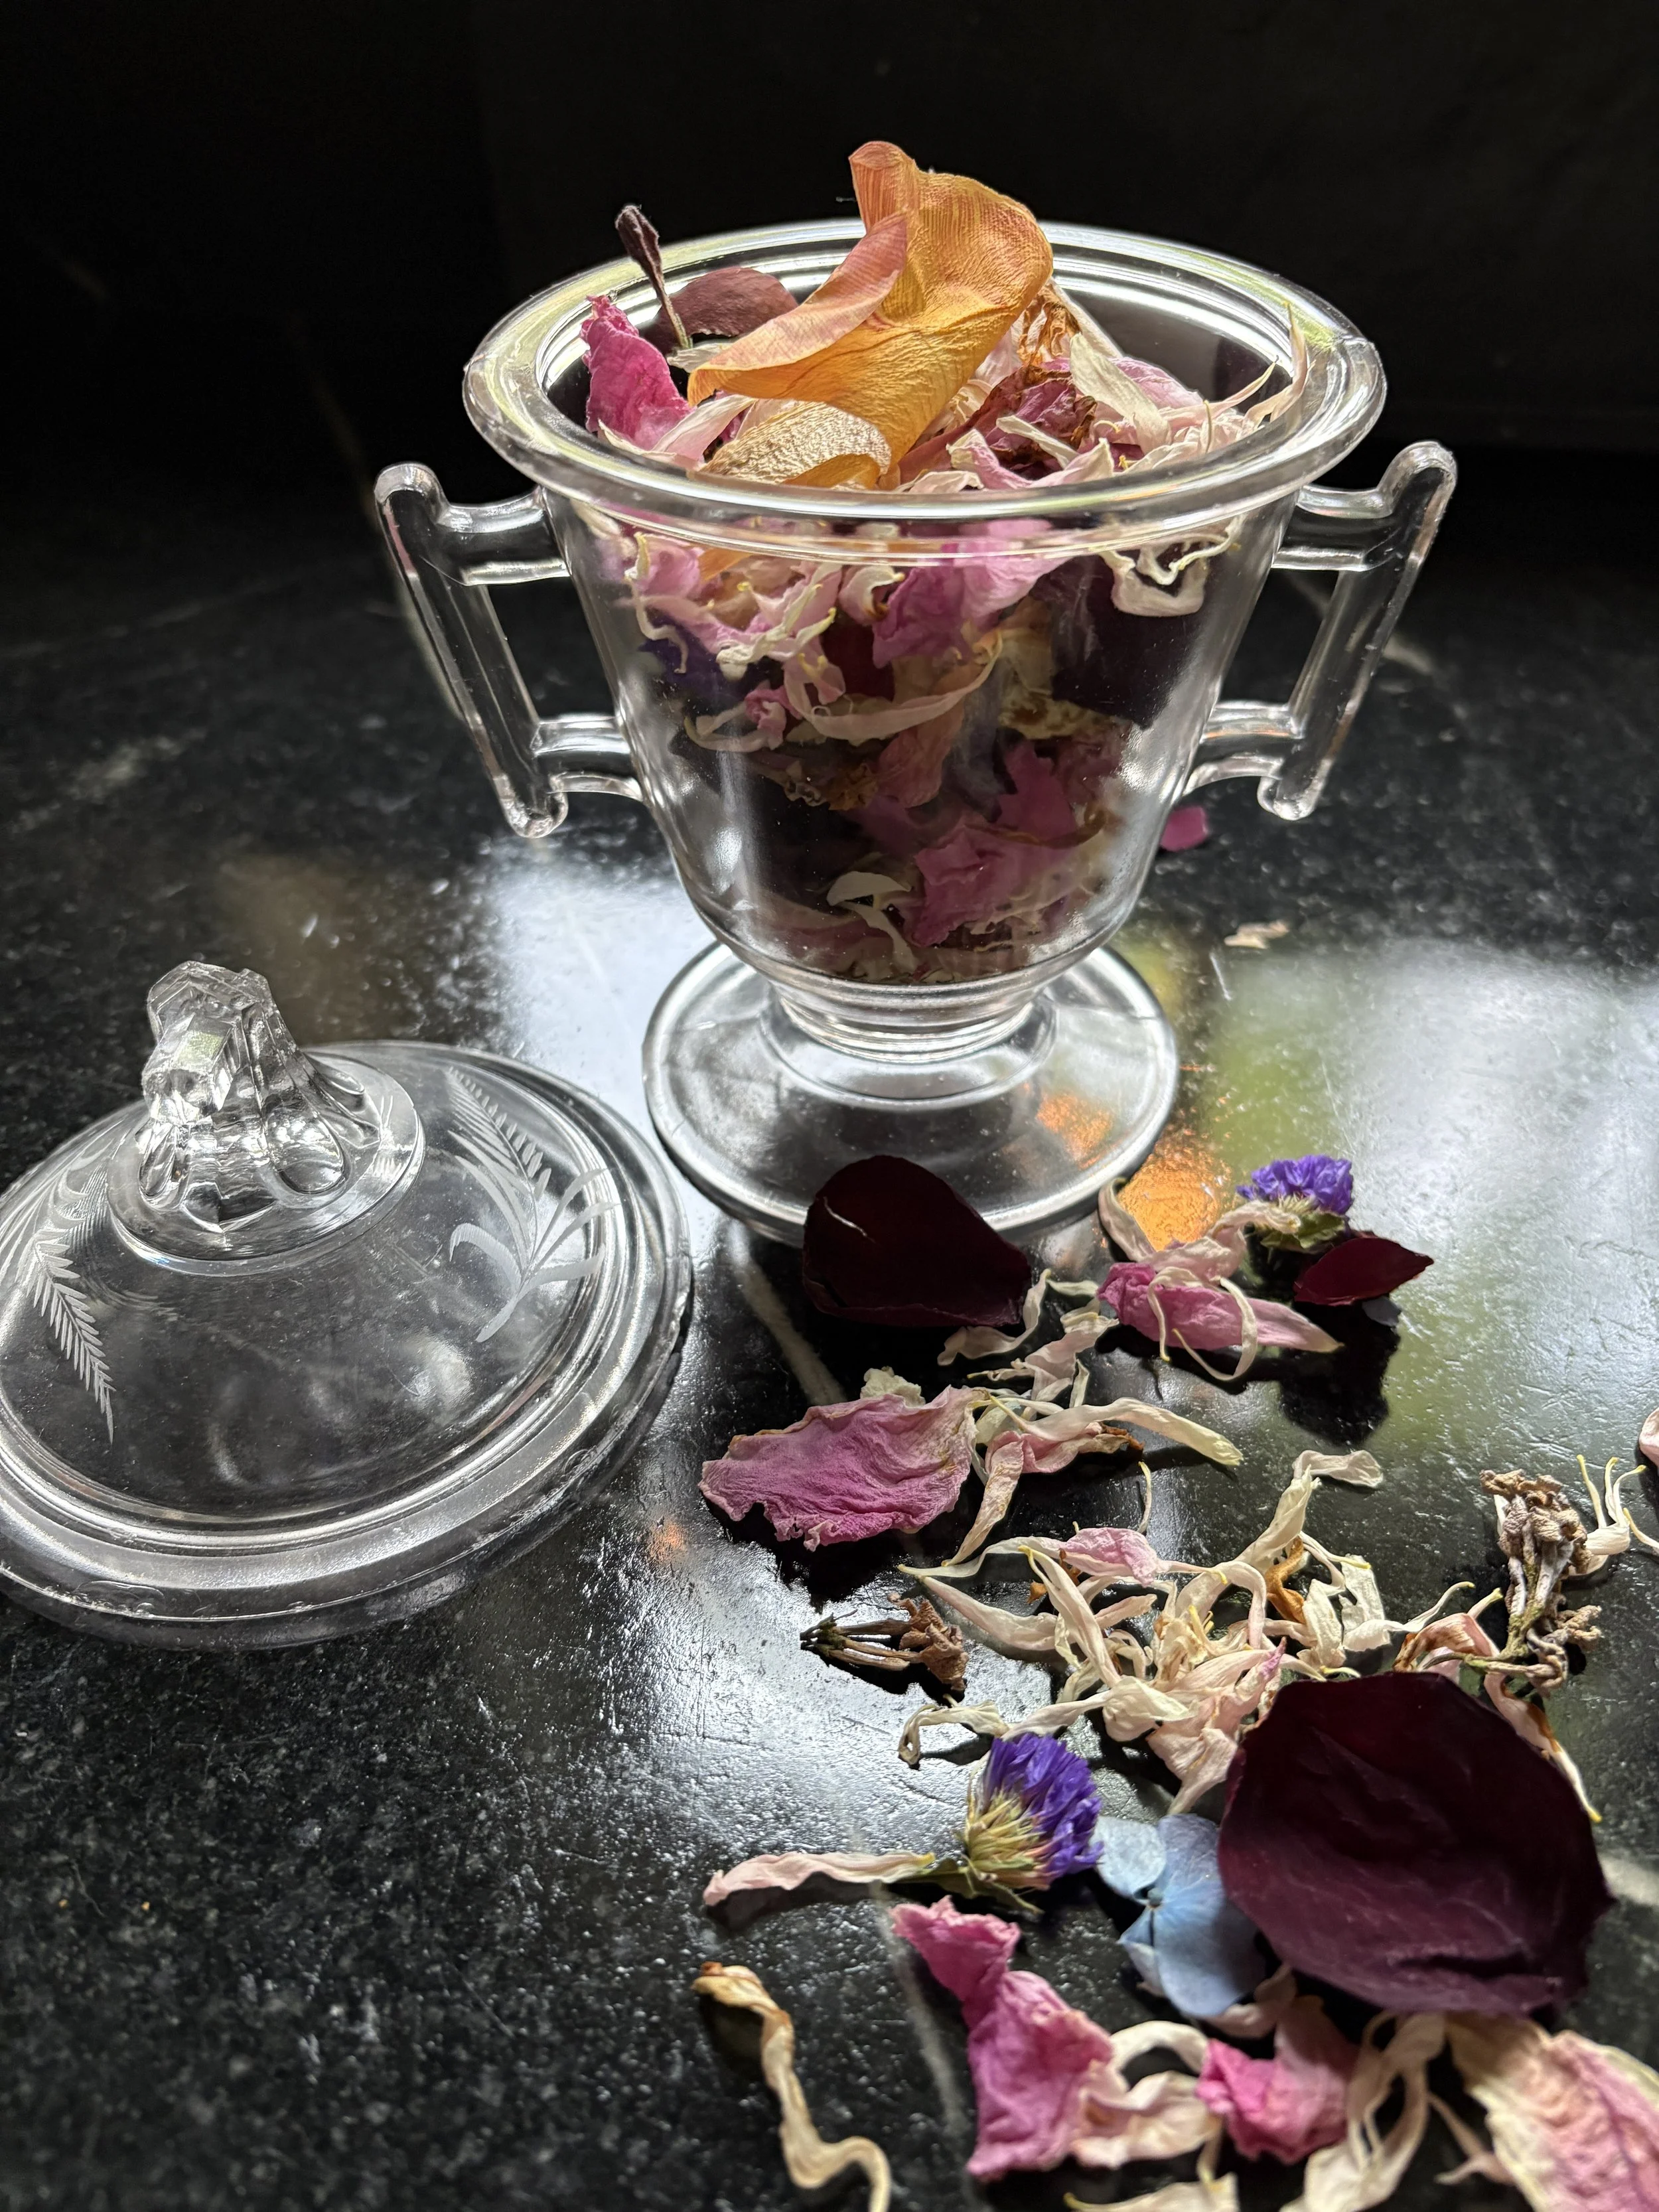
Store the dried petals in a wide-mouth jar without a lid or use a lid with air vents to allow air circulation and prevent molding.
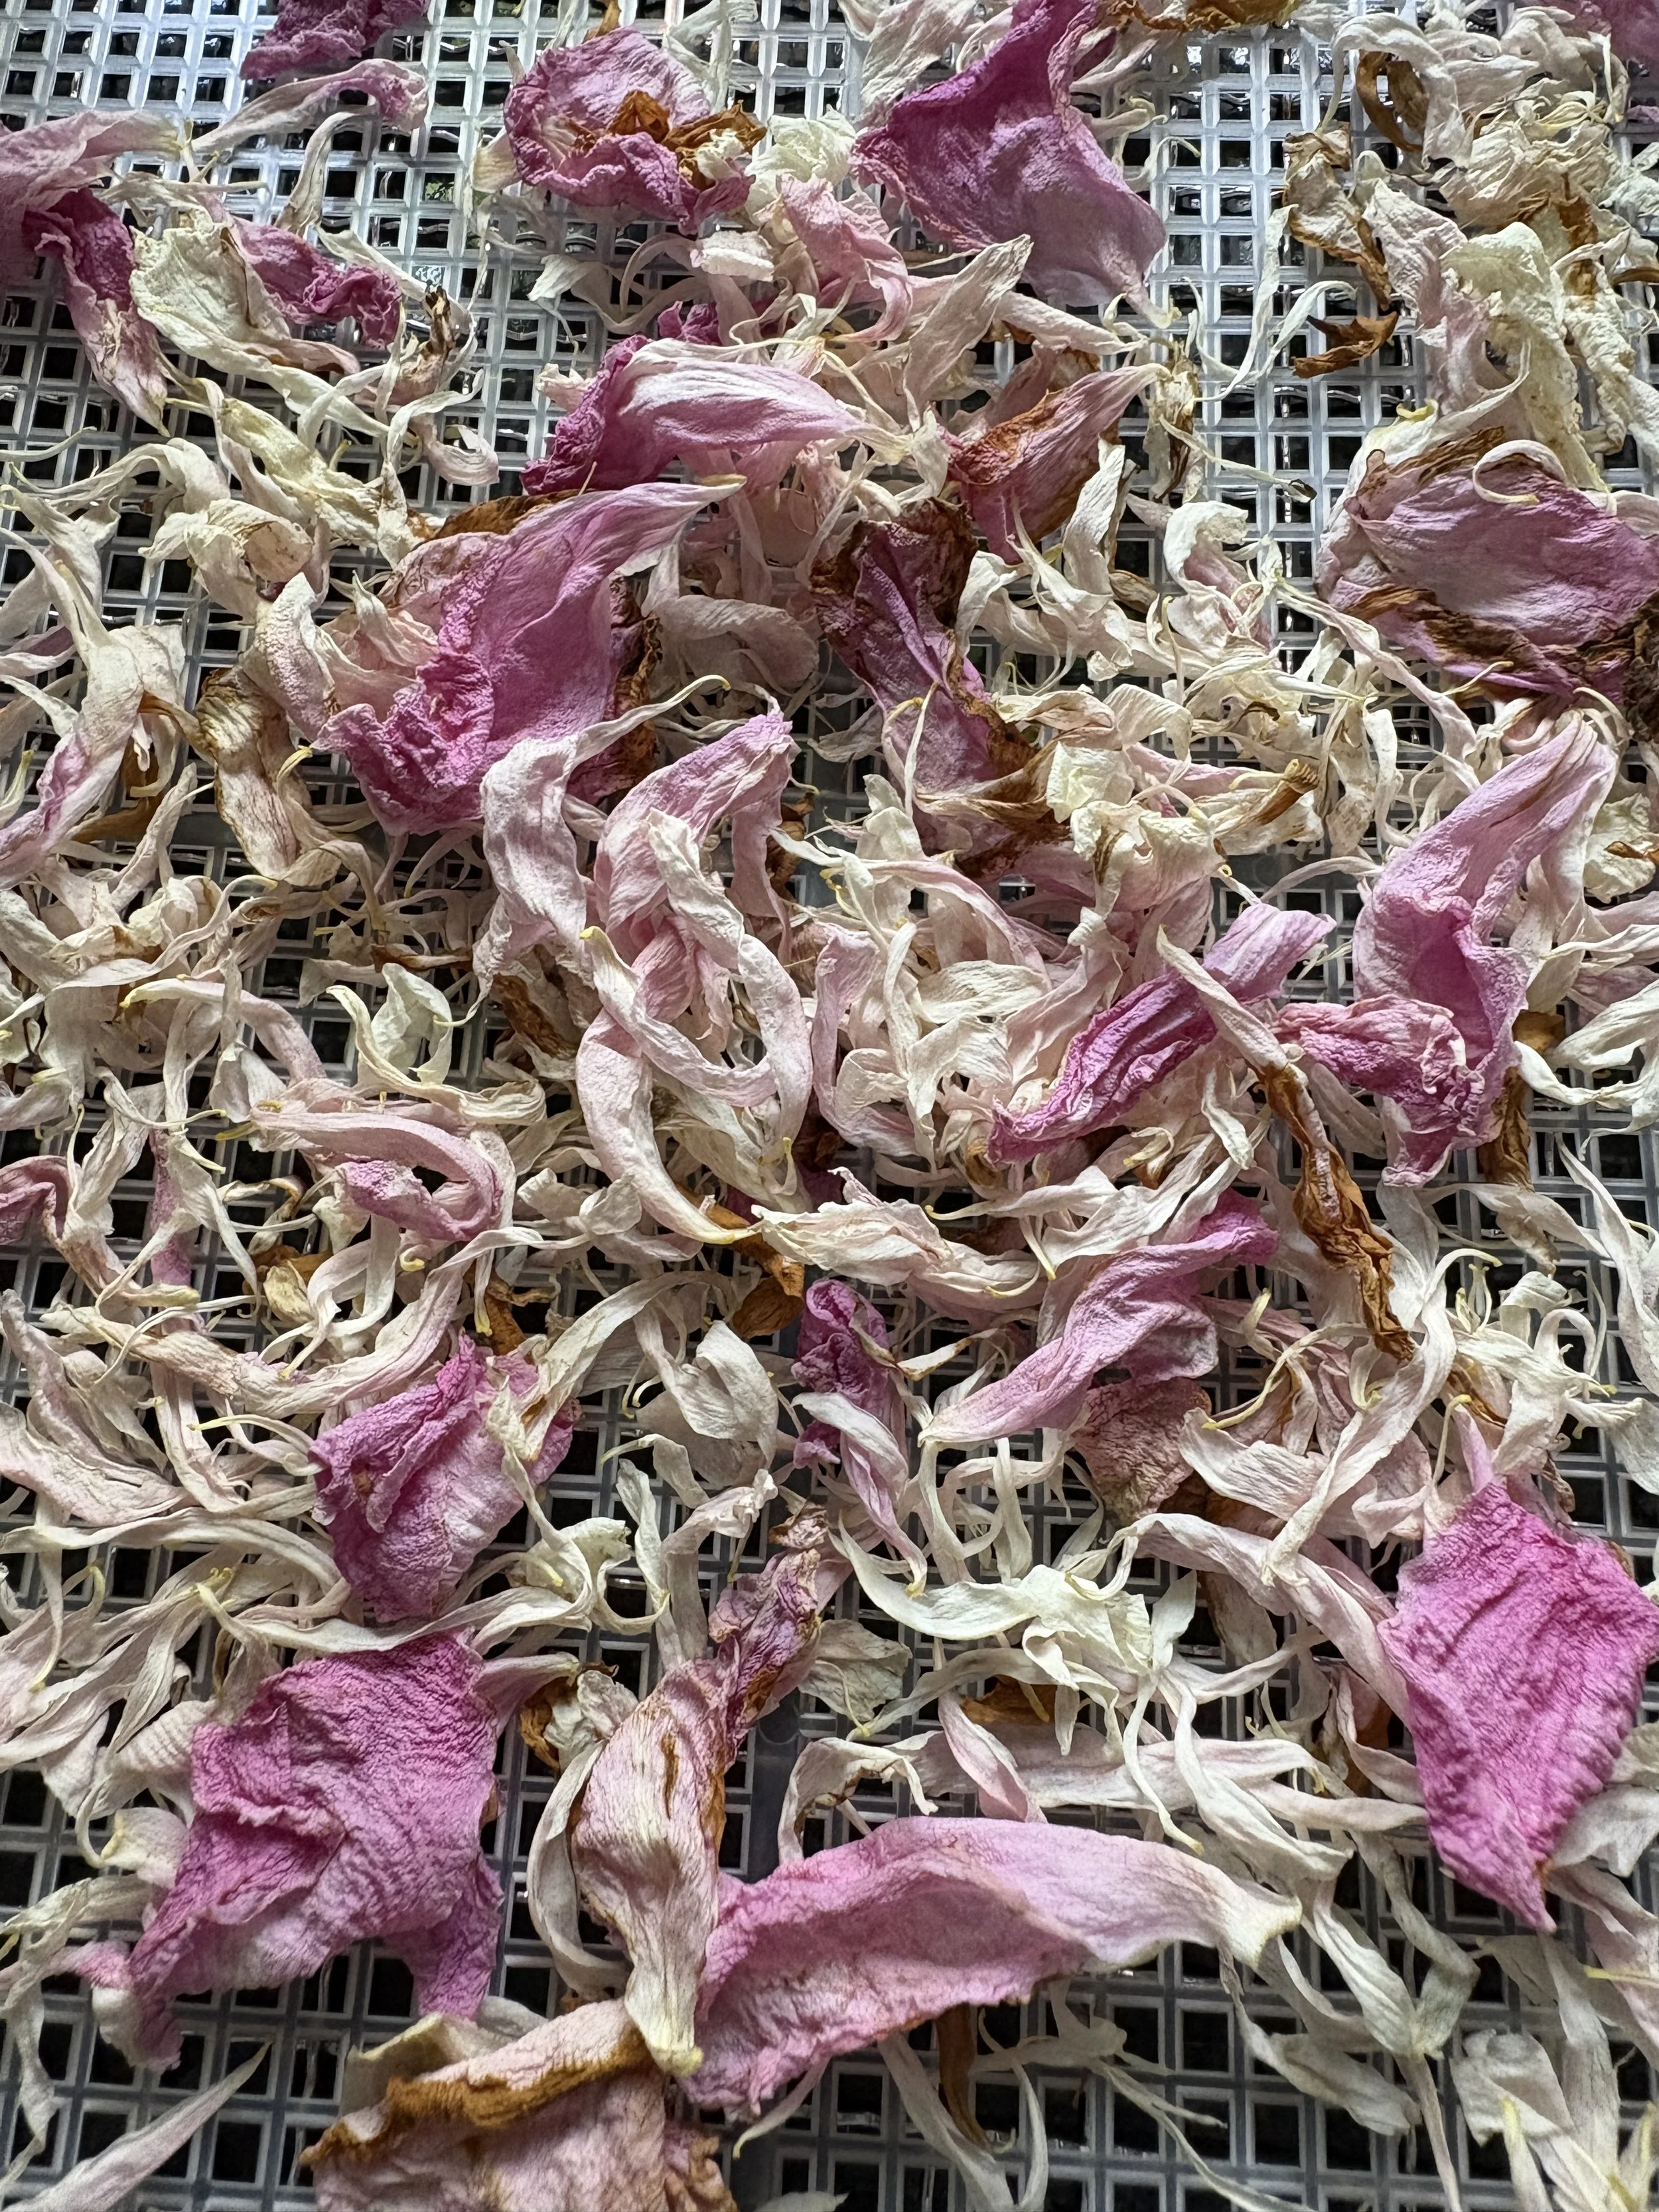
Dried Peony Petals
Style Tables and Give Confetti Gifts
Now on demand, you can create flower confetti jars to give as gifts. They make lovely summer picnic gifts, and they pair so nicely with baskets full of fresh herbs, vegetables, and homemade sourdough bread.
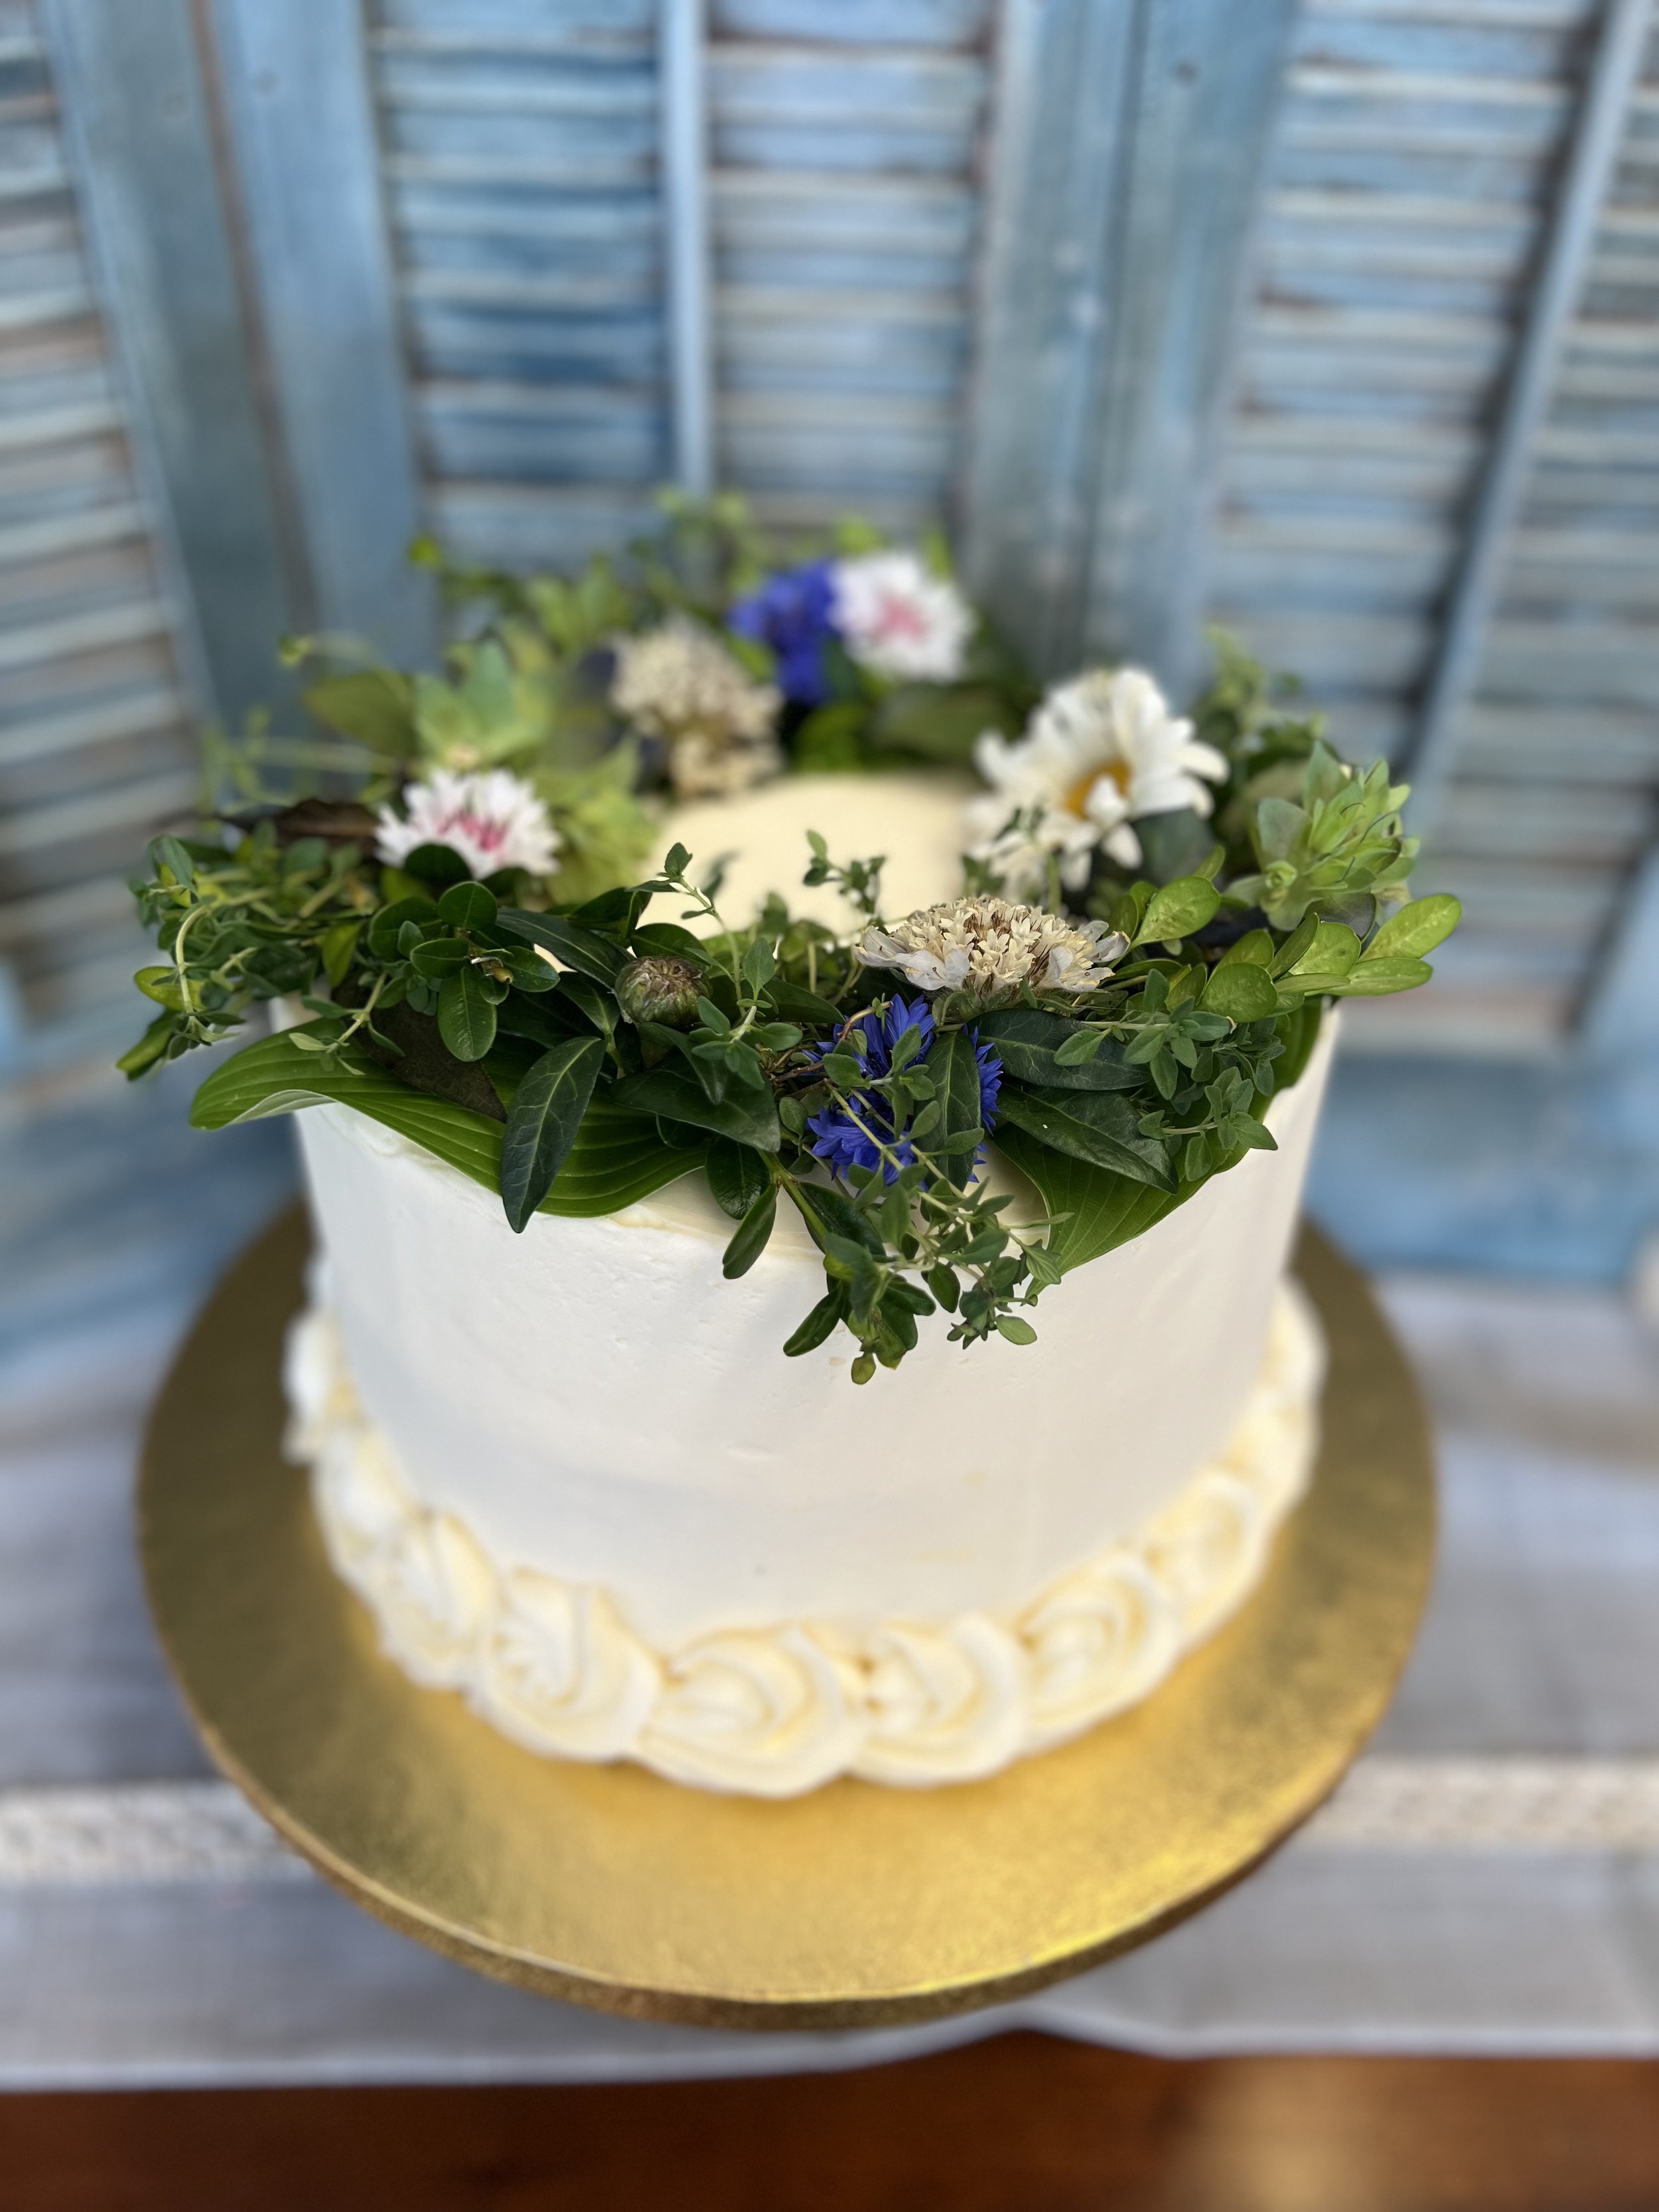
Style pretty summer tables by sprinkling the flower confetti around candles, place settings, or amidst flower arrangements. Here is the list of all the supplies I use to create my own flower confetti. Enjoy!
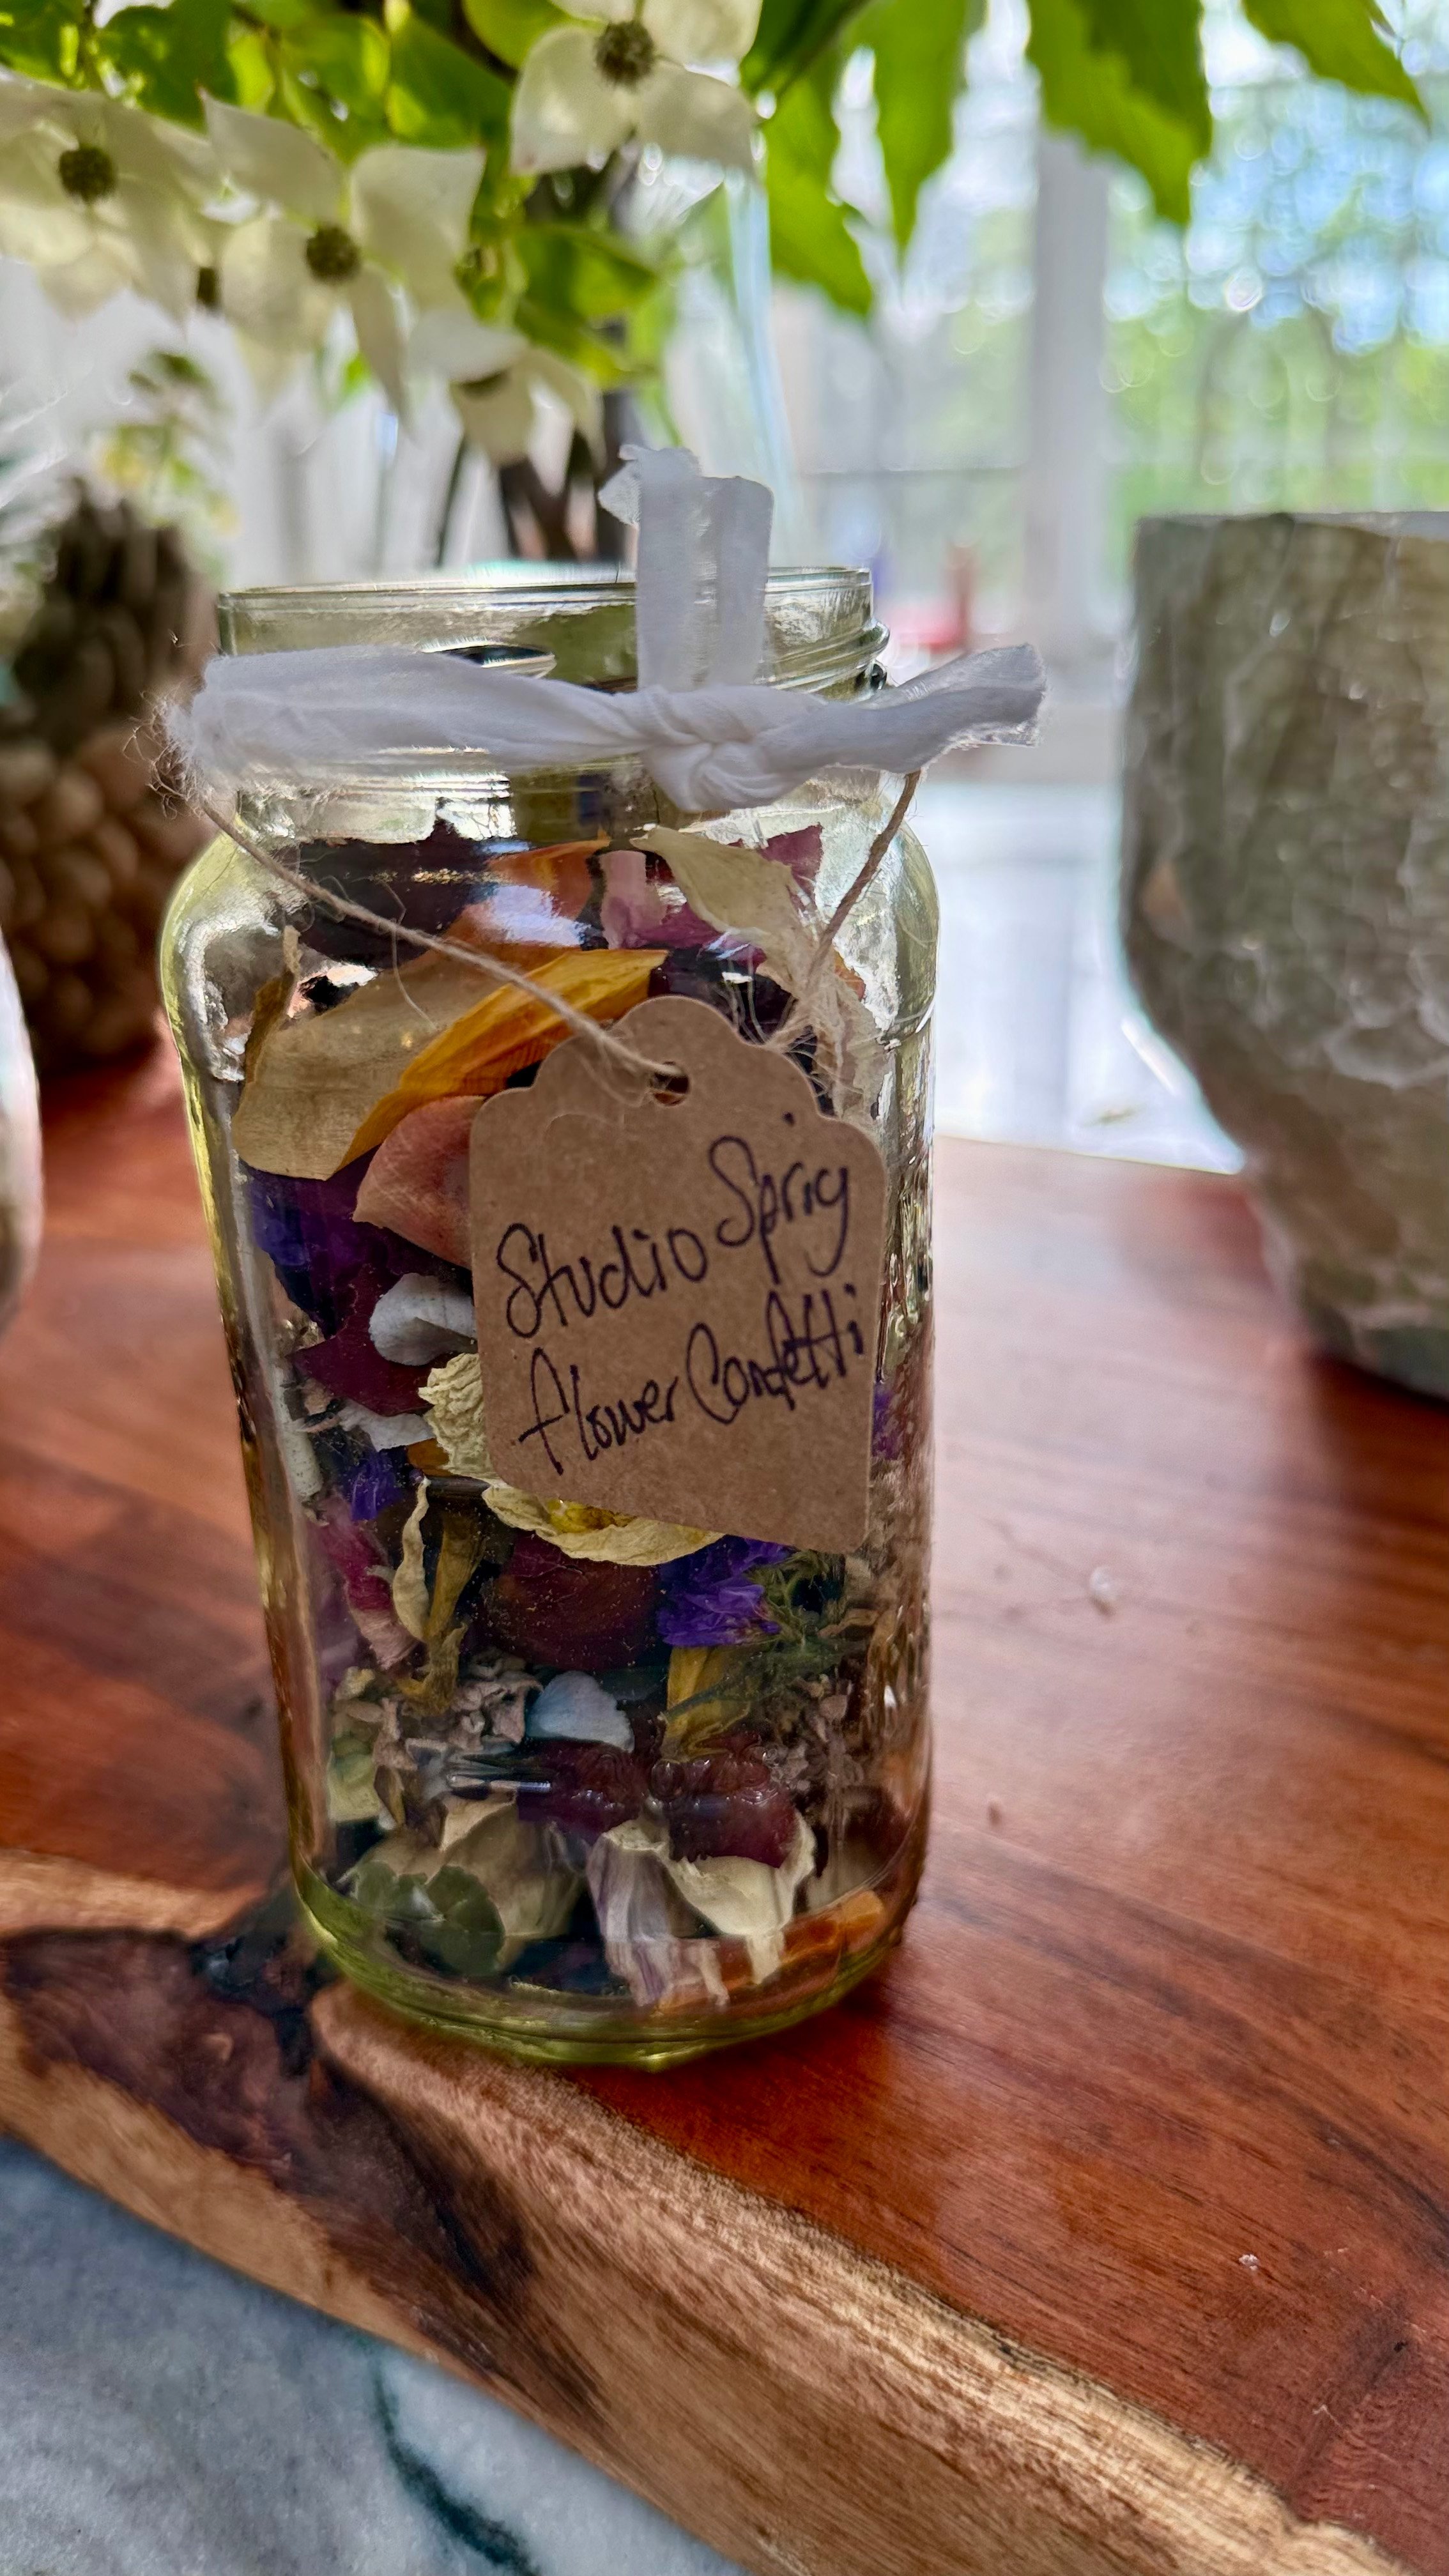
Simple jars of Flower Confetti make wonderful gifts